Hey, everyone. Shalott here! Today I want to share with you how I take care of my dry and damaged hair to ensure that it is luscious and beautiful all year. Between heat styling and harsh processes like dyes, my hair is always in need of a little extra TLC, so when it’s starting to look a little down, I whip up this special hair mask to restore my locks.
I’ve been extra conscious lately to only use natural products that will help keep my hair strong and healthy in the long run. I’m trying to steer clear of products with parabens and am working towards incorporating more natural and organic products into my makeup and hair routines. This three ingredient hair mask has saved me time and time again. The best part is, it has ZERO preservatives, it’s completely natural, and all the ingredients are items you more than likely have hanging around in your kitchen!
Step 1.
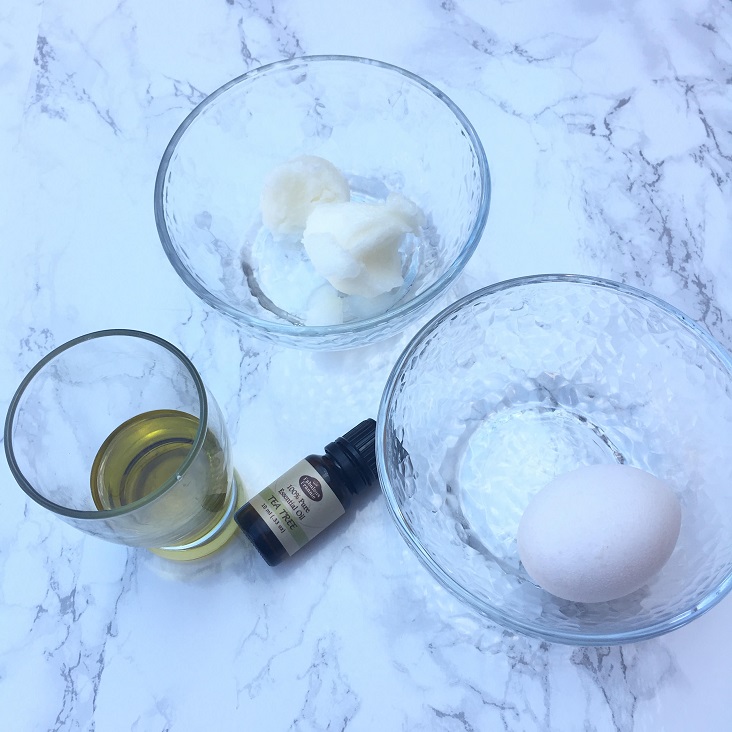
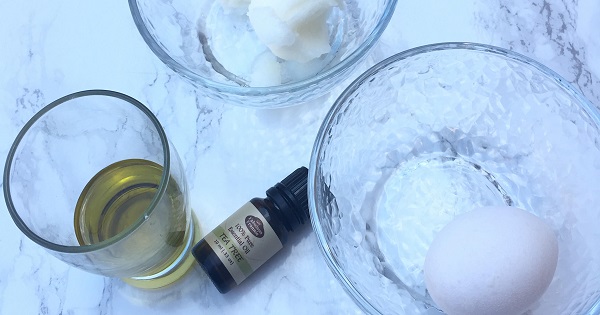
To create this miracle mask, you will need:
-2 tablespoons organic, unrefined coconut oil
-2 tablespoons organic extra virgin olive oil
-1 egg
Optional: Essential oils
It’s important to use unrefined coconut oil since it has undergone substantially less processing and maintains a larger amount of good-for-you nutrients than its refined counterpart. If you don’t have extra virgin olive oil, regular virgin will do, but keep in mind that the lower quality oil you use, the fewer benefits you will see from your mask, so proceed at your own risk! The final optional ingredient is essential oils. Today, I’m using tea tree oil, which is known to stimulate hair growth and hydrate dry scalps. It’s not necessary to include any essential oils in your mask, but I like adding them for the additional healing benefits.
Step 2.

Once you’ve gathered your ingredients, it’s time to combine the olive and coconut oils. If you keep your coconut oil in the pantry or in the fridge, chances are that it’s going to be solid. If you’re like me and like to work outside, then let your coconut oil sit under the sun for a couple minutes to melt it. If you’re working indoors, heat your oil in 10-second increments in the microwave until it’s back in liquid form.
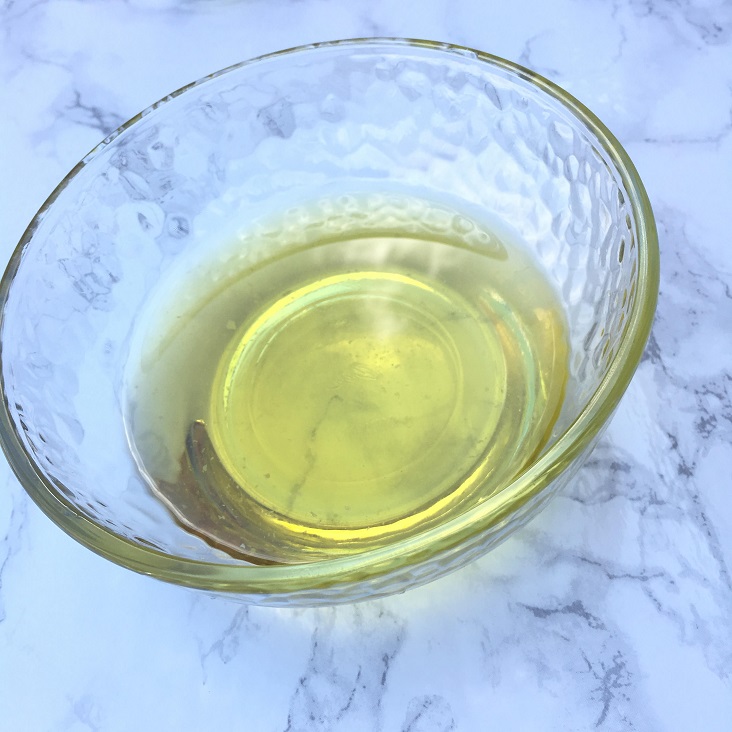
Once the coconut oil is melted, combine the two together. Olive oil has been known to prevent hair loss and serve as a natural conditioner, while coconut oil strengthens follicles and tames frizz. The combination of the two makes for an unstoppable team of good-for-you ingredients.
Step 3.
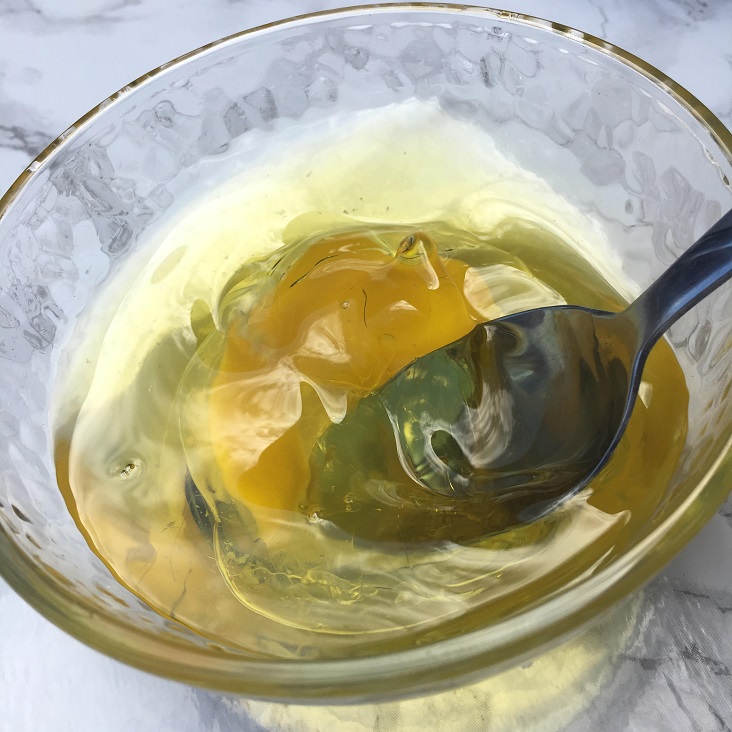
Next, crack the egg into the oil mixture. Be extra careful not to get any eggshell into your mixture! Since the yolk of the egg is known to be a hair strengthener and the white is often attributed to preventing dryness, we’ll be using the entire egg.
Once you start mixing, you’ll notice that the egg and the oils don’t necessarily want to mix together. Continue mixing until everything is smooth and combined. It should take about two to three minutes to get a uniform consistency.
Step 4.
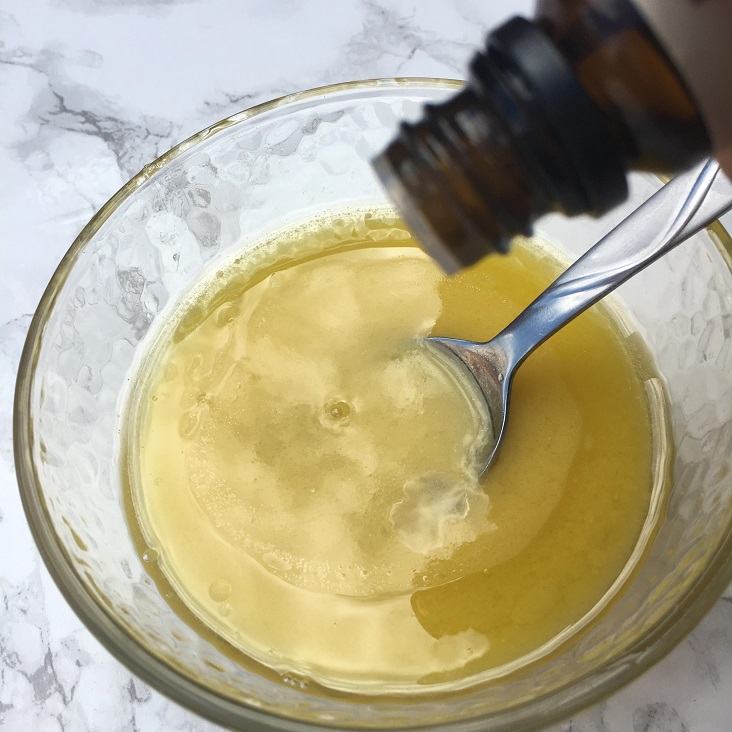
This step is completely optional. If you aren’t interested in adding any additional oils, then proceed to the next step. However, I really recommend experimenting with essential oils since there are so many that provide a variety of benefits to your hair. For this mask, I’ve decided to use tea tree oil because of its numerous benefits to hair and also because it smells so darn good.
If you plan on adding any essential oils, keep in mind that they’re powerful stuff! Be smart and do your research before you apply anything to your hair since all essential oils aren’t created equal. Depending on which oil you’re using, you will probably need 2-3 drops at most. I like to use two so that the scent isn’t overpowering.
Step 5.
To apply the mask, I first part my hair down the middle into two sections. I then take each section and brush out any tangles. I like to work in zones, so I hold the section I am not working on out of the way with a small clip. I start applying the mix to the ends of my hair, working my way upwards.
I like to make and apply my masks on Sundays so that I have plenty of time to let all of the goodness soak into my hair. You’ll start noticing a big difference even after just 30 minutes, but I like to keep mine on for 2 to 3 hours to ensure I’ve gotten the most out of the mask.
Final Thoughts & Tips
It may take a few washes to get all the greasiness out of your hair, but I promise it’s completely worth it.
When you’re showering to wash off the mask, make sure to keep the temperature cool or lukewarm. If the water is too hot, you’ll end up with scrambled eggs in your hair, which is never a good look.
Since this hair mask is completely organic and preservative-free, it needs to be used as soon as it’s made. Trying to store the mask for later will cause all sorts of icky bacteria to grow, so be sure to use it as soon as you’ve created your concoction!
Have you ever tried a DIY hair mask? Let me know in the comments section below!