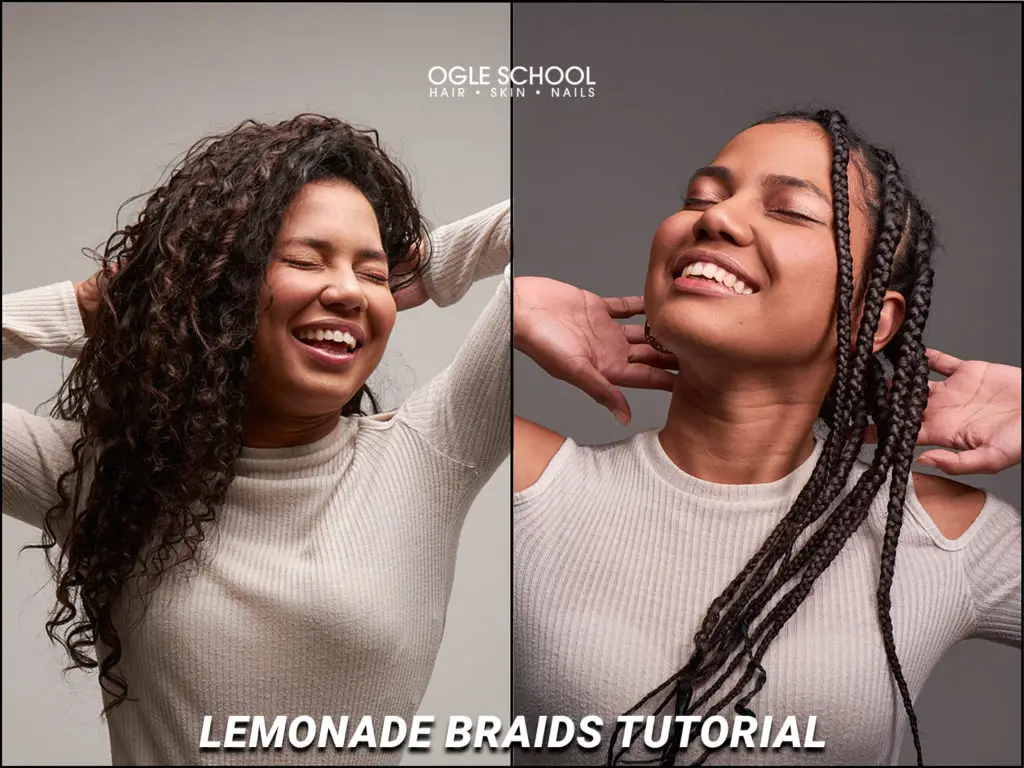
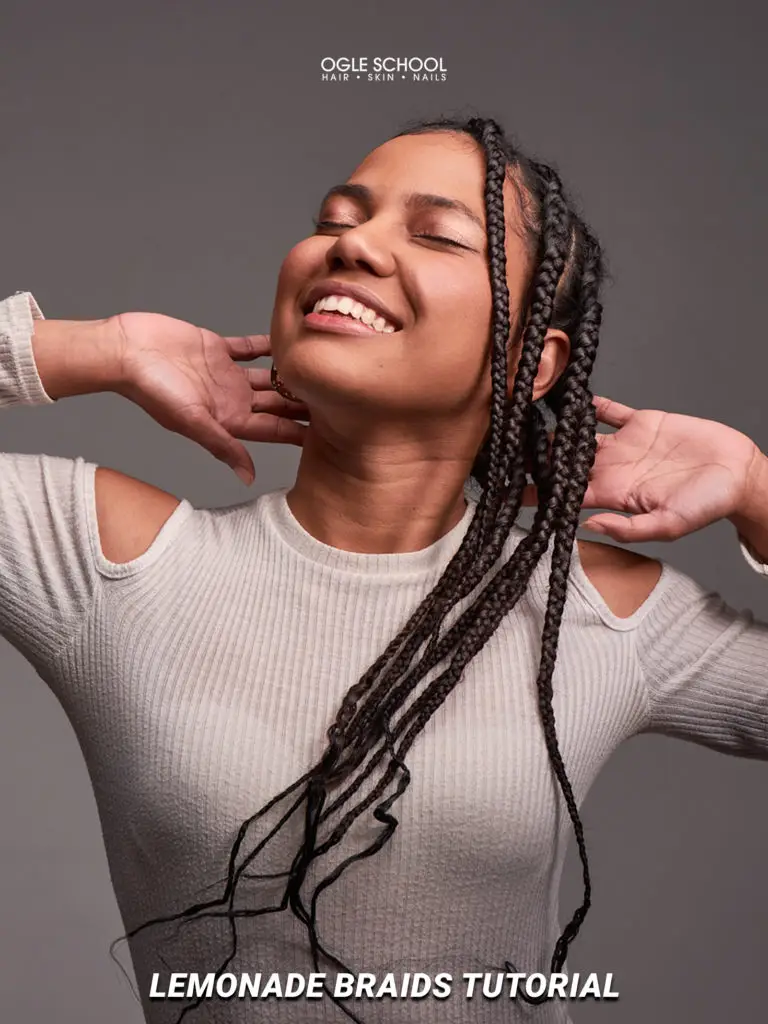
The side-swept flattering Lemonade braids take approximately seven hours to achieve and look their best for four weeks or longer, depending on the care and treatment. We will walk you through each step of how you can accomplish this look at home with the right products and techniques.
Apply a styling gel for a sleek, long-lasting look before commencing. As you braid, continually smooth out the hair with your hairs for a polished and foolproof put-together look.
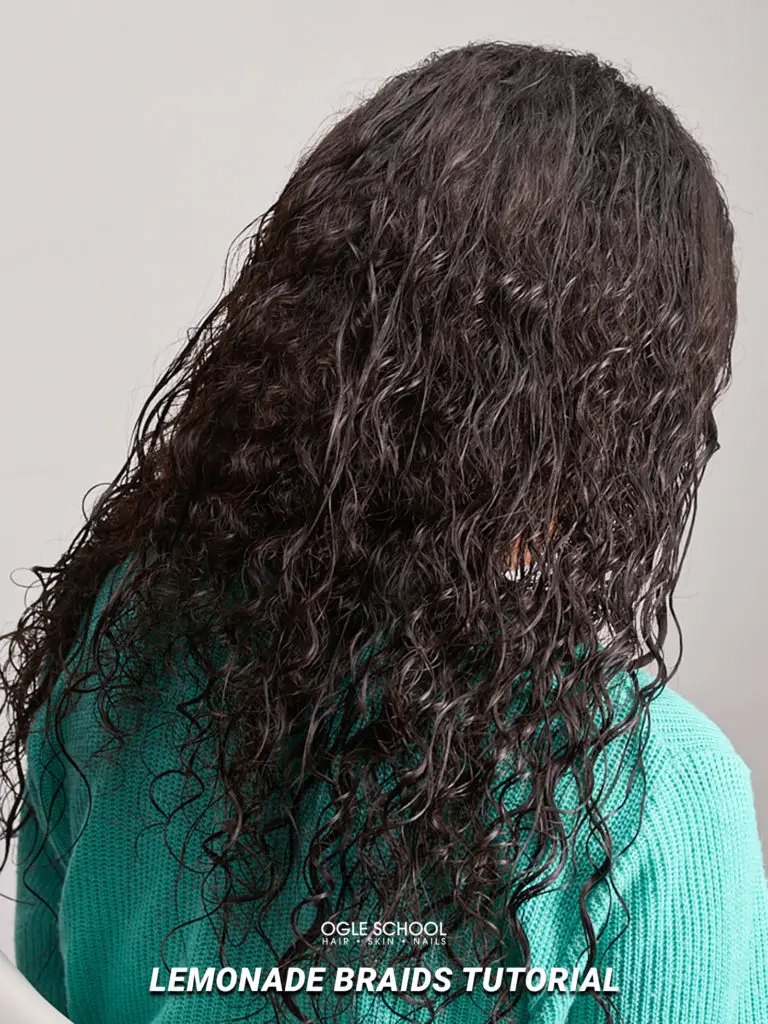
Step One: To achieve smooth and shiny braids, apply styling cream before you begin and spritz your scalp and hair with a moisturizing leave-in-conditioner.
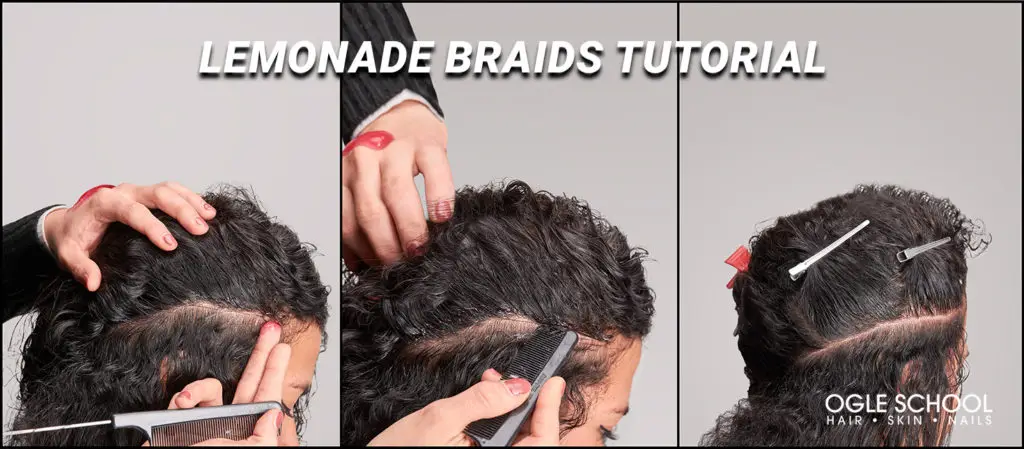
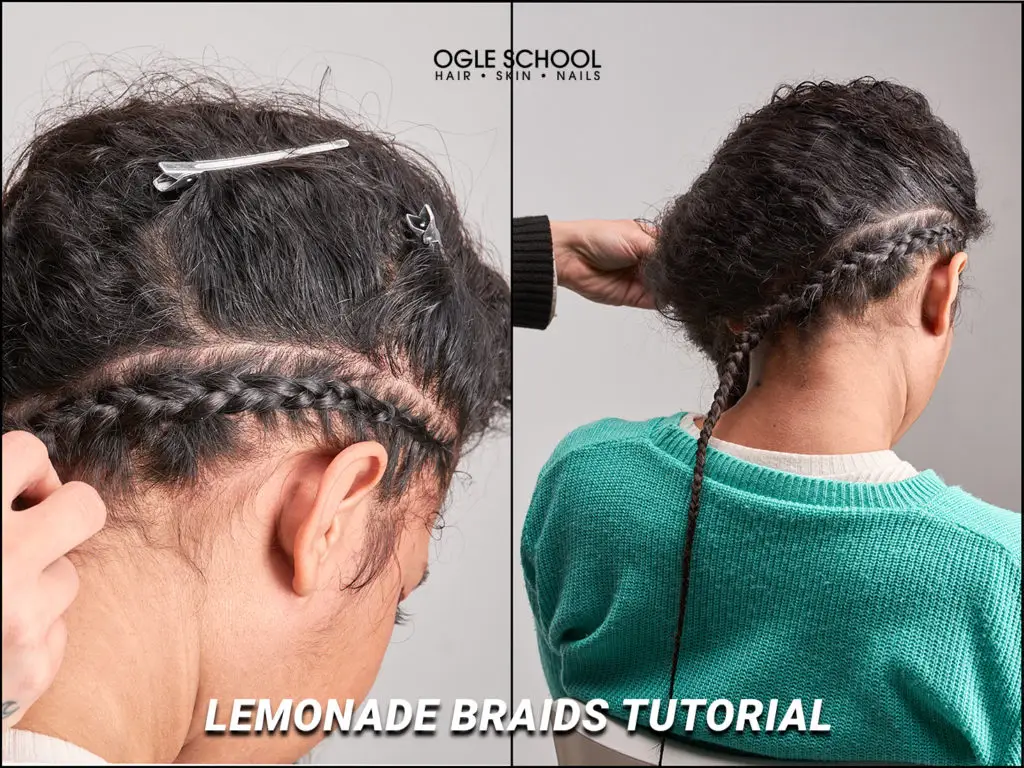
Step Two: Apply hair shine and holding gel throughout the areas you will be parting. Using a long tail comb, create a part on the side from the temple to the back of the hair. Secure the hair on top with diving clips for now.
Step Three: Braiding
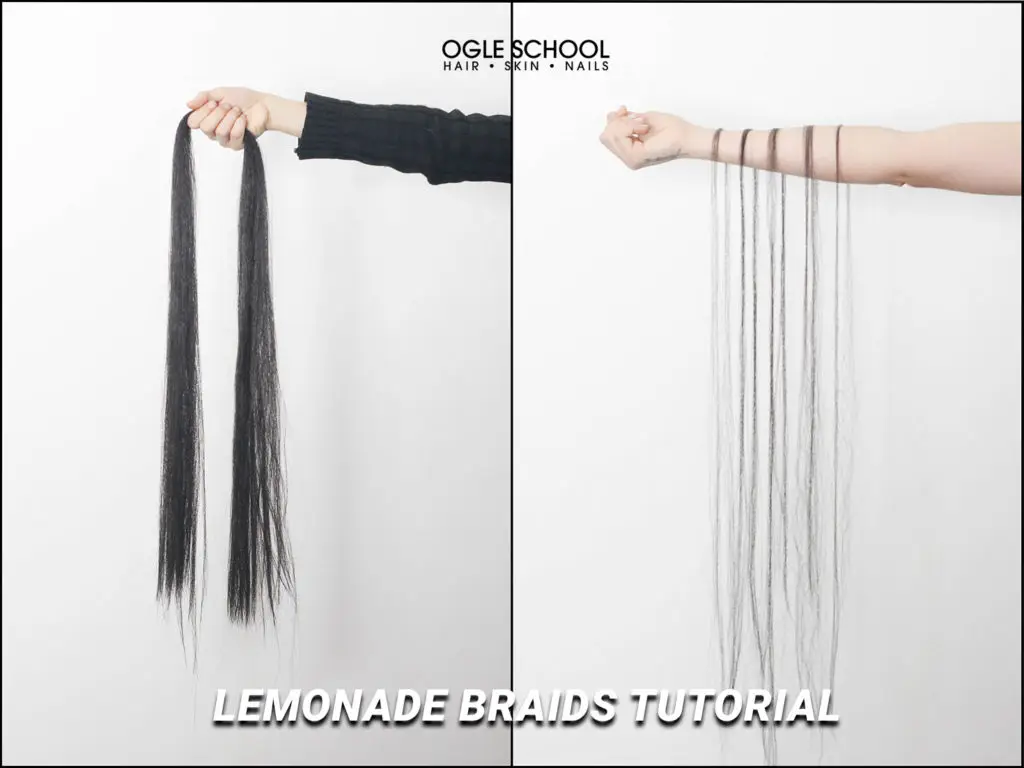
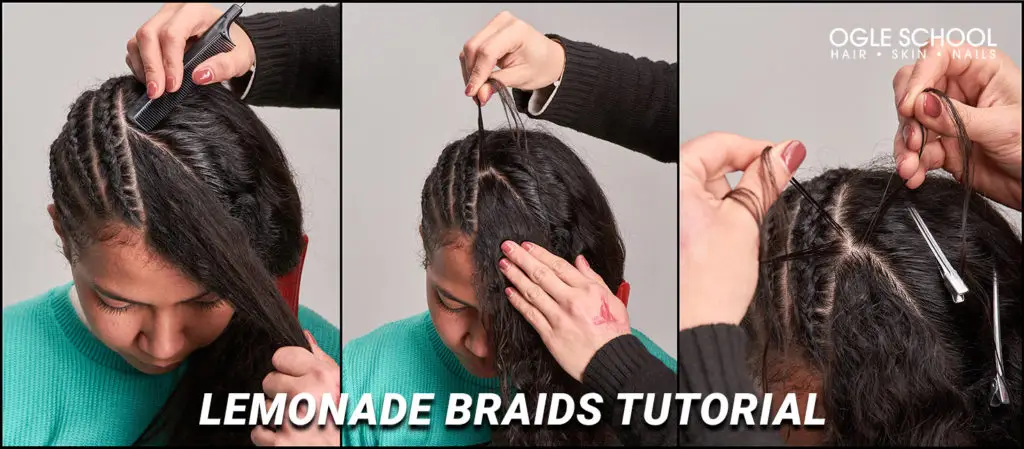
A) Evenly separate the kanekalon into fine strands and set it aside.
B) For each braid, make the first twist without the kanekalon, using only the natural hair. Take a thin strand holding it against the scalp, and apply gel. Divide the strand into three parts.
Pass the left strand under the middle towards the right.
Pass the right strand under to the left.
Pass the middle strand to the right.
Note: Firmly grip the hair against the scalp throughout the braiding process, maintaining tension.
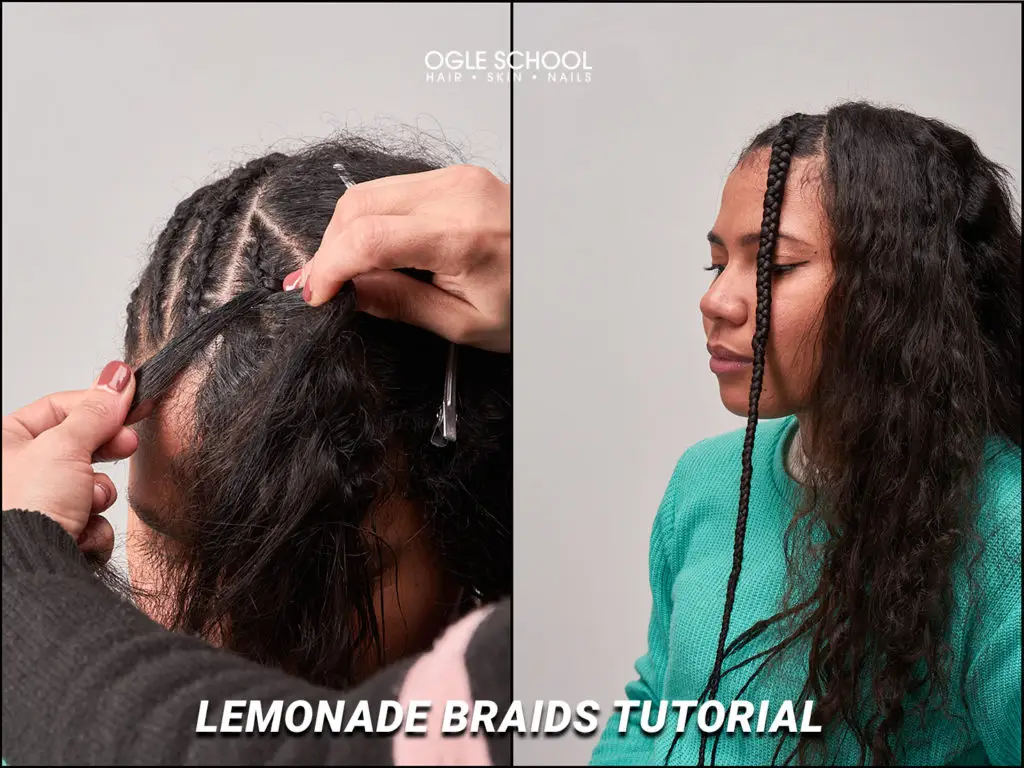
C) Begin incorporating the kanekalon into each new twist by placing the kanekalon on the middle part of the intersection of the natural hair created in the previous step.
Combine the left section of the kanekalon with the left part of the natural hair.
Combine the right part of the kanekalon with the right section of the natural hair.
Repeat the braiding pattern from the previous step.
Note: Continue braiding until complete.
D) Once we get to the middle of the desired length of the braid, we stop adding strands of kanekalon, and continue braiding until finished.
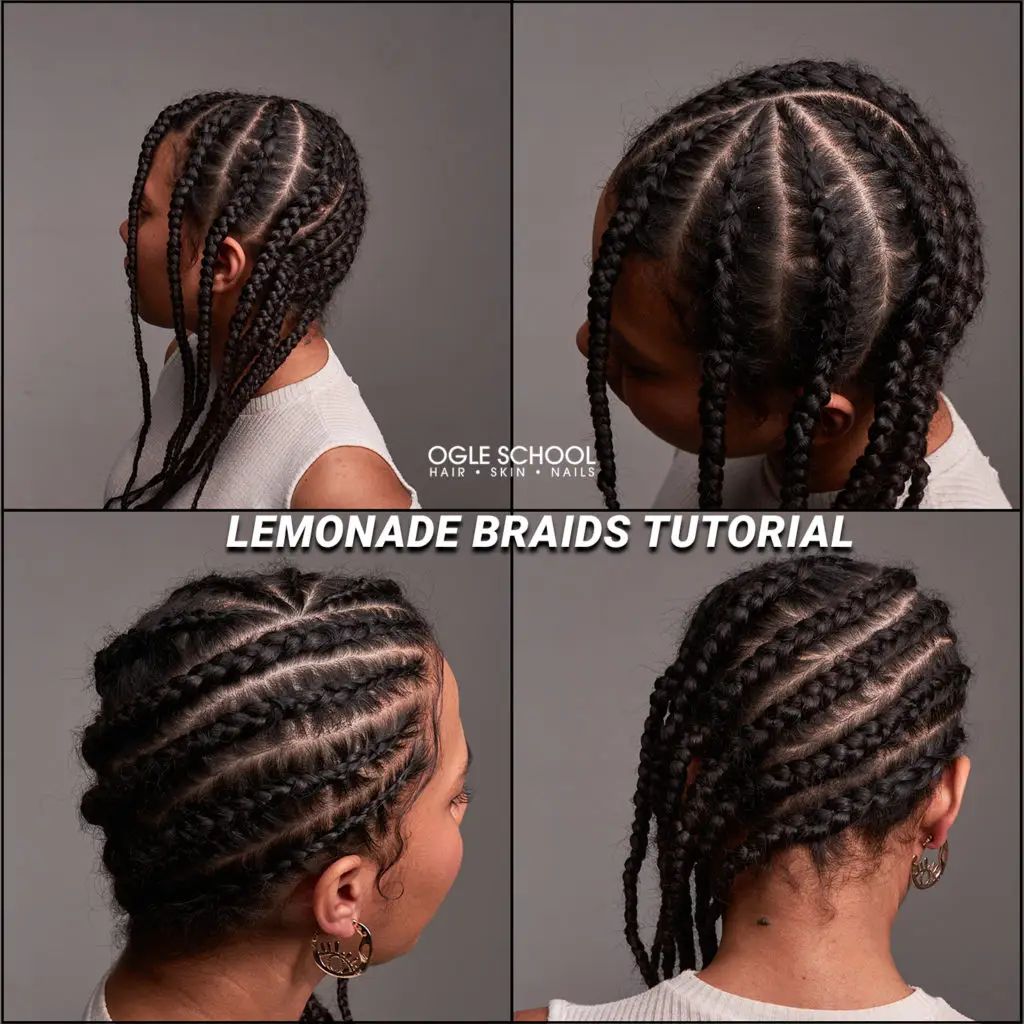
Step Four: Use the first completed braid as a reference point and begin making dividing parts, from the back of the head to the forehead. In this tutorial, we use a diagonal braid design. Repeat the braiding process in each section.
Step Five: Continue the braid design within the front section of the hair.
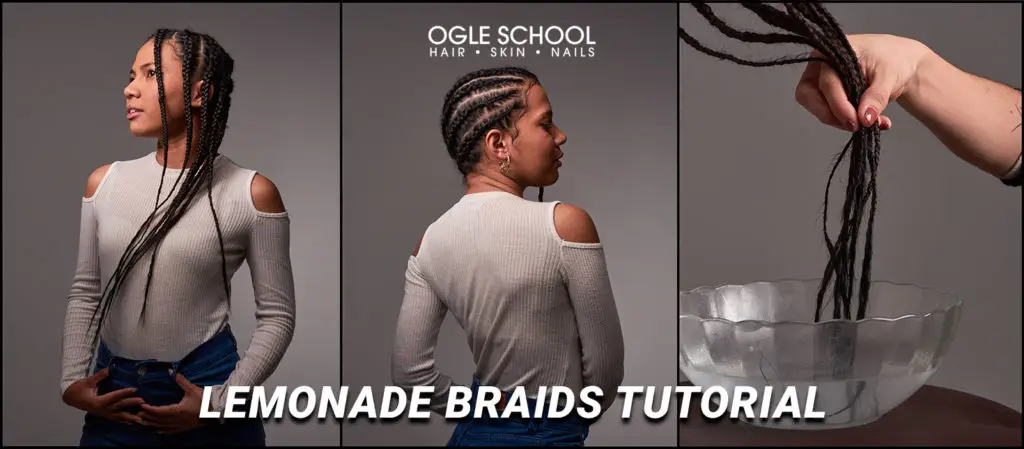
Step Six: Complete the look on the remainder of the hair. Your braids should look like the bottom right photo when you are done.
Step Seven:
To seal the ends, soak them in boiling water and gently towel dry the hair.
If you’re looking for more ways to style your hair, then check out a curation of the latest trends and tutorials on the Ogle School blog.
{
“@context”: “https://schema.org/”,
“@type”: “HowTo”,
“name”: “HOW TO CREATE LEMONADE BRAIDS”,
“description”: “Learn the easy braiding technique to achieve cute and stylish lemonade braids. Using a shine and hold gel before you start will help create a sleek and moisturized look.”,
“image”: “https://www.ogleschool.edu/wp-content/uploads/2022/08/Lemonade-Braids-Before-After.webp”,
“totalTime”: “PT7M”,
“estimatedCost”: {
“@type”: “MonetaryAmount”,
“currency”: “USD”,
“value”: “35”
},
“supply”: [{
“@type”: “HowToSupply”,
“name”: “Kanekalon 1 to 2 packages”
},{
“@type”: “HowToSupply”,
“name”: “Styling cream”
},{
“@type”: “HowToSupply”,
“name”: “Gel”
},{
“@type”: “HowToSupply”,
“name”: “Boiling water”
}],
“tool”: {
“@type”: “HowToTool”,
“name”: “Tail comb”
},
“step”: [{
“@type”: “HowToStep”,
“text”: “To achieve smooth and shiny braids, apply styling cream before you begin and spritz your scalp and hair with a moisturizing leave-in-conditioner.”,
“image”: “https://www.ogleschool.edu/wp-content/uploads/2022/08/After-Collage.webp”,
“name”: “Step One”
},{
“@type”: “HowToStep”,
“text”: “Apply hair shine and holding gel throughout the areas you will be parting. Using a long tail comb, create a part on the side from the temple to the back of the hair. Secure the hair on top with diving clips for now.”,
“image”: “https://www.ogleschool.edu/wp-content/uploads/2022/08/After-Collage.webp”,
“name”: “Step Two”
},{
“@type”: “HowToStep”,
“text”: “Evenly separate the kanekalon into fine strands and set it aside.”,
“image”: “https://www.ogleschool.edu/wp-content/uploads/2022/08/After-Collage.webp”,
“name”: “Step Three: Braiding A)”
},{
“@type”: “HowToStep”,
“text”: “For each braid, make the first twist without the kanekalon, using only the natural hair. Take a thin strand holding it against the scalp, and apply gel. Divide the strand into three parts.
Pass the left strand under the middle towards the right.
Pass the right strand under to the left.
Pass the middle strand to the right.
Note: Firmly grip the hair against the scalp throughout the braiding process, maintaining tension.”,
“image”: “https://www.ogleschool.edu/wp-content/uploads/2022/08/After-Collage.webp”,
“name”: “Step Three: Braiding B)”
},{
“@type”: “HowToStep”,
“text”: “Begin incorporating the kanekalon into each new twist by placing the kanekalon on the middle part of the intersection of the natural hair created in the previous step.
Note: Continue braiding until complete.
Combine the left section of the kanekalon with the left part of the natural hair.
Combine the right part of the kanekalon with the right section of the natural hair.
Repeat the braiding pattern from the previous step.”,
“image”: “https://www.ogleschool.edu/wp-content/uploads/2022/08/After-Collage.webp”,
“name”: “Step Three: Braiding C)”
},{
“@type”: “HowToStep”,
“text”: “Once we get to the middle of the desired length of the braid, we stop adding strands of kanekalon, and continue braiding until finished.”,
“image”: “https://www.ogleschool.edu/wp-content/uploads/2022/08/After-Collage.webp”,
“name”: “Step Three: Braiding D)”
},{
“@type”: “HowToStep”,
“text”: “Use the first completed braid as a reference point and begin making dividing parts, from the back of the head to the forehead. In this tutorial, we use a diagonal braid design. Repeat the braiding process in each section.”,
“image”: “https://www.ogleschool.edu/wp-content/uploads/2022/08/After-Collage.webp”,
“name”: “Step Four”
},{
“@type”: “HowToStep”,
“text”: “Continue the braid design within the front section of the hair.”,
“image”: “https://www.ogleschool.edu/wp-content/uploads/2022/08/After-Collage.webp”,
“name”: “Step Five”
},{
“@type”: “HowToStep”,
“text”: “Complete the look on the remainder of the hair. Your braids should look like the bottom right photo when you are done.”,
“image”: “https://www.ogleschool.edu/wp-content/uploads/2022/08/After-Collage.webp”,
“name”: “Step Six”
},{
“@type”: “HowToStep”,
“text”: “To seal the ends, soak them in boiling water and gently towel dry the hair.”,
“image”: “https://www.ogleschool.edu/wp-content/uploads/2022/08/After-Collage.webp”,
“name”: “Step Seven”
}]
}
About the Author
Jeff Chiarelli
Jeff Chiarelli is the Head of Marketing for Ogle School. His responsibilities include leading Ogle School's marketing and branding strategy to amplify Ogle School's passion for helping create future beauty professionals in the communities Ogle School serves.
A BEAUTIFUL CAREER STARTS HERE
Hi future beauty professional! We can’t wait to speak you. Fill out the form below and we’ll get you the information you need.
By submitting this form, I am providing my consent to be called, texted, and/or emailed by Ogle School at the number and/or email provided. This consent is not a condition of purchase.