On this page
At a Glance
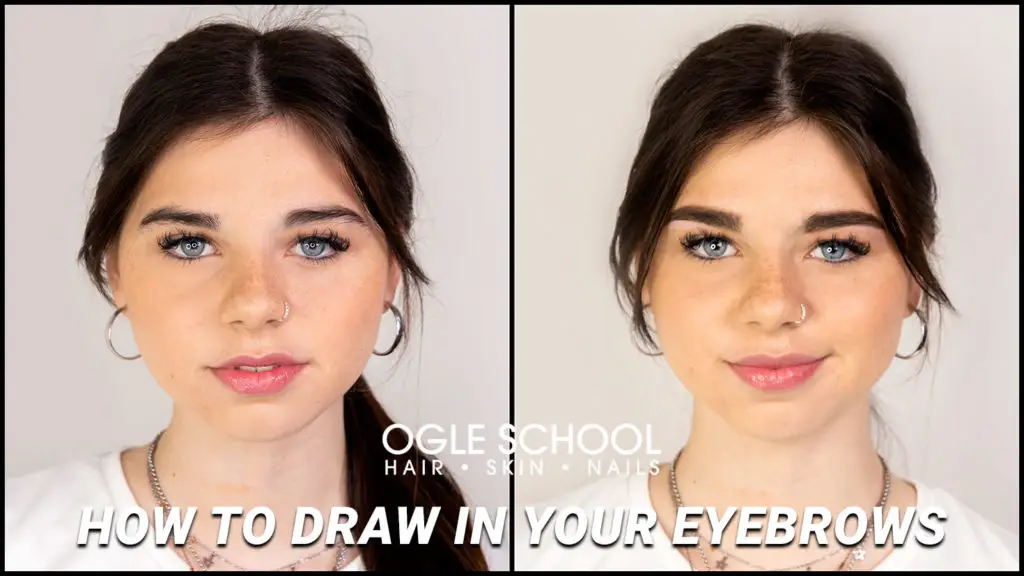
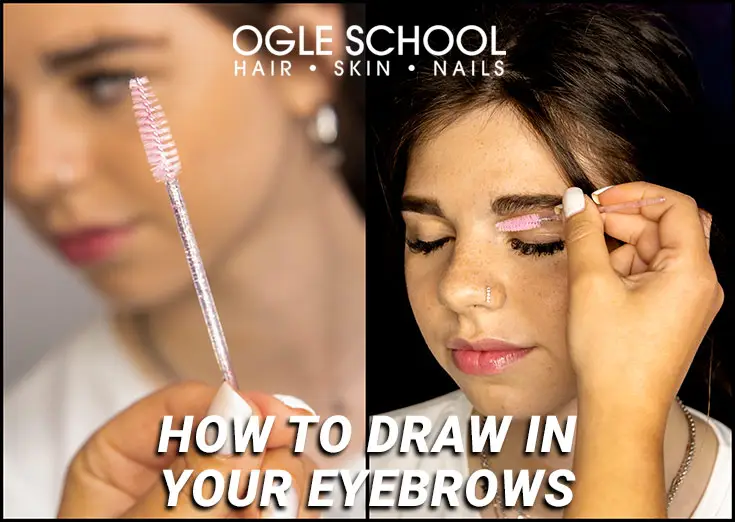
Drawing in your eyebrows starts with mapping the right shape using three reference points: where the brow begins, where the arch peaks, and where the tail ends - all determined by the position of the nostril and outer corner of the eye. Our guide walks through using eyebrow pomade and a beveled brush to define the upper brow line, fill in sparse areas with light pressure, and clean up edges with micellar water for a natural finish. A key rule: the darkest point should be at the tail, not the center, and the overall effect should look filled, not drawn.
Whether you’re a victim of the over-plucked 90s brow or your natural shape needs enhancement, our beauty editor shares beauty tricks to shaping your brow and framing your eyes in the most flattering way. In skilled hands, correcting eyebrow shapes can transform your appearance. Maintain the perfect eyebrows with accurate guides, routine grooming, and plucking any stray hairs.
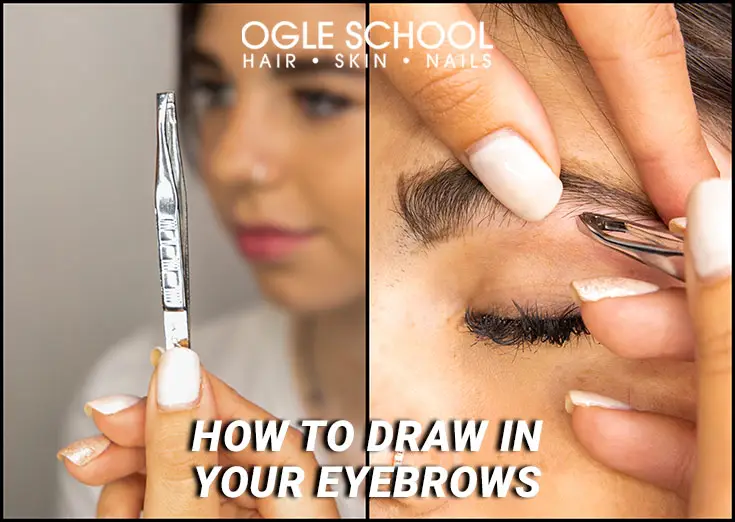
Our brow experts recommend plucking in optimal light with a pair of tweezers after shaping your brows. If you’re using a magnifying mirror when you pluck, always step back to study the overall canvas of your face. Taking a step back helps to ensure you don’t have uneven brows. We’re aiming for harmony, not necessarily symmetry. The goal is to achieve the ideal shape by revamping your actual shape and creating a natural-looking, even, fuller brow that works with your bone structure.
Though thicker brows are trending, if you don’t naturally have the coveted Brooke Shields bushy brows, you want to work with what you have and not overdo it. Before you begin tweezing away, we’ll review how to map out your brows with a basic brow mapping technique. Mapping out your brow will help define where you want to pluck and caution you on which areas of the brow you want to avoid plucking.
Eyebrows are not a one-fits-all shape. There are round eyebrows, straight eyebrows, arched eyebrows, steeply arched eyebrows, thick, and thin eyebrows. You’ll learn how to find your natural brow shape with guides. If your brows have sparse spots, we’ll demonstrate how to fill in eyebrow hairs, leaving you with a full natural brow.
With the help of the guides, draw the lines to define the eyebrows. Consider using one to two shades darker than your natural brow color if you have pale brows. Once you’ve finished shaping and eyebrow grooming, you can tweeze away extra hairs to clean up unkempt brows.
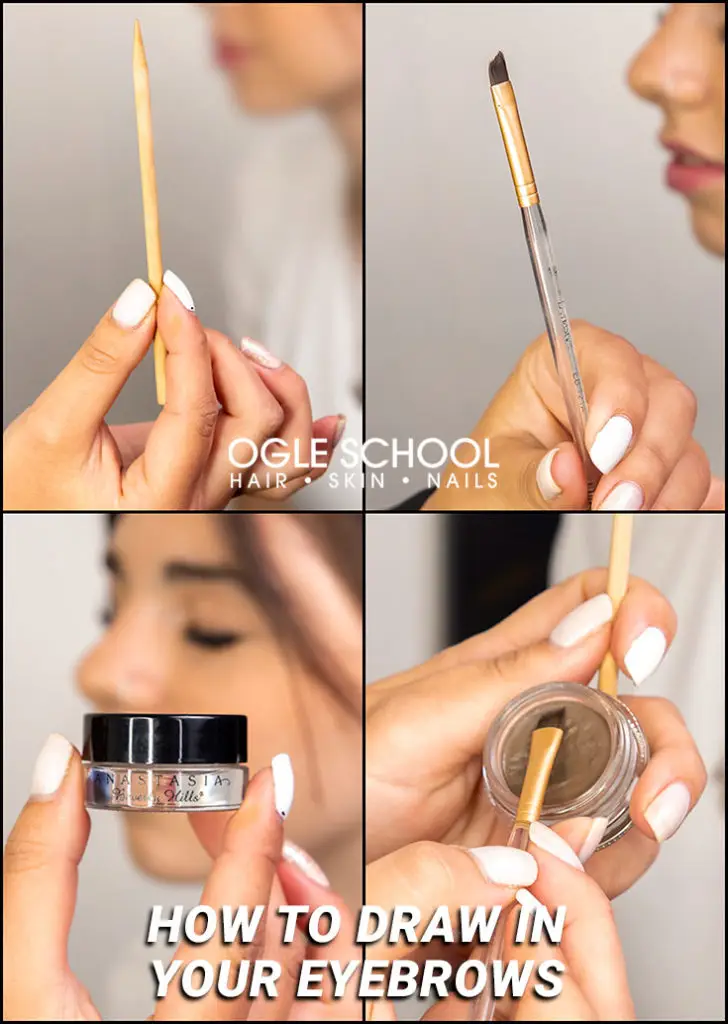
You’ll need the right tools to do the job! In this guide, we will use the following brow products and beauty tools:
- Brow comb
- Brow scissors
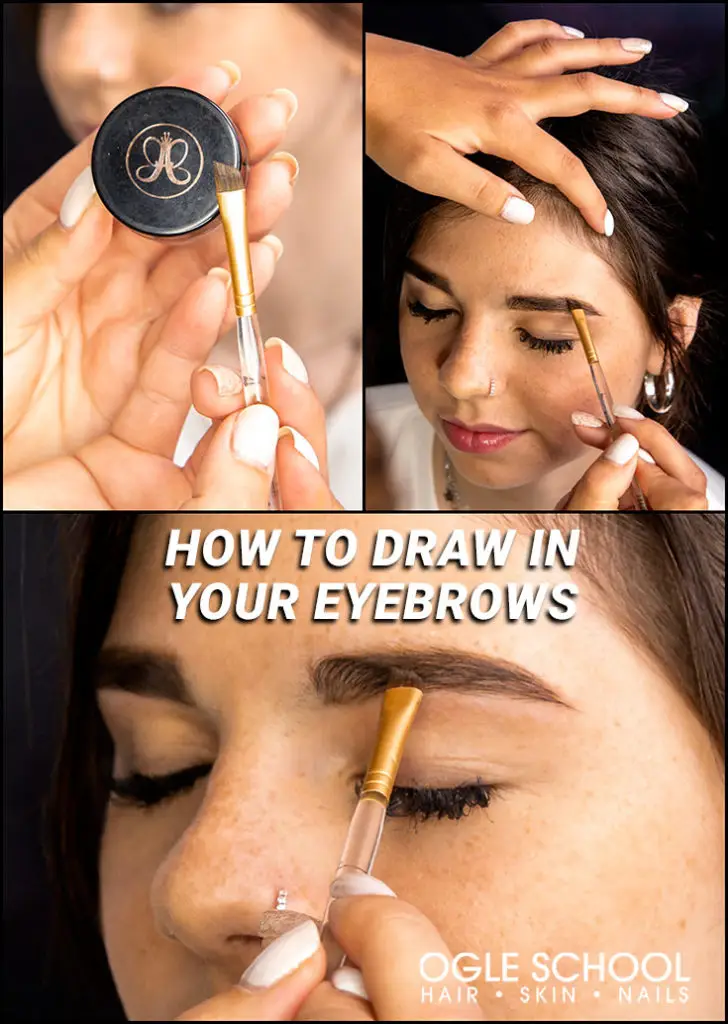
- Brow pomade by Anastasia Beverly Hills in a medium brown tone
- Angled brow brush
- Spoolie
- Slanted tweezers
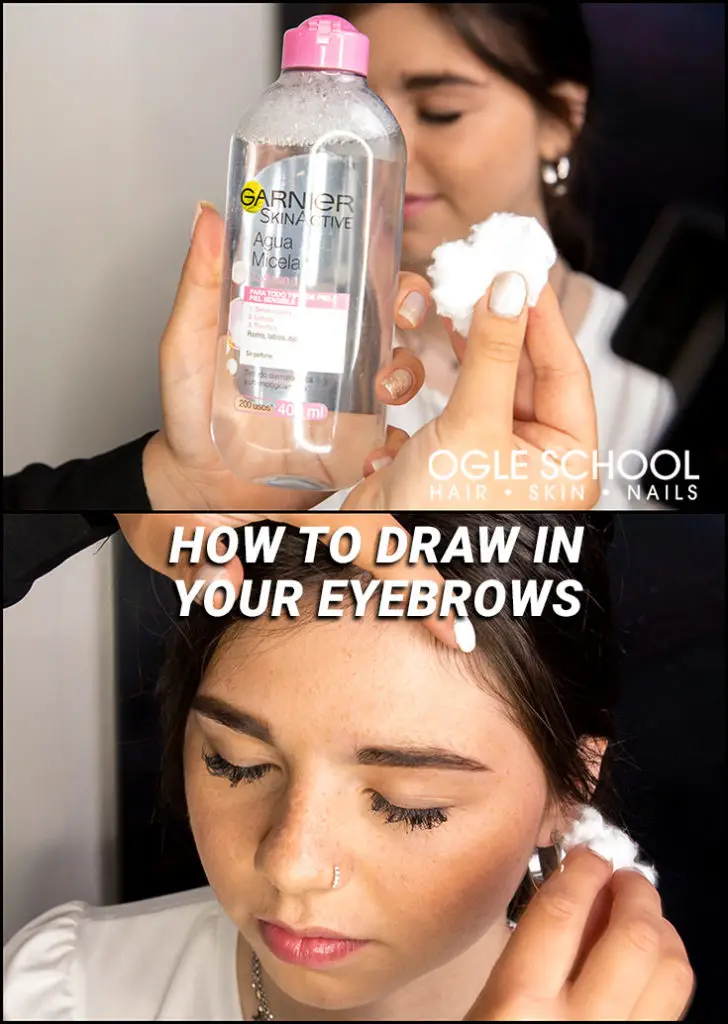
- Micellar water
- Cotton swab
- Sponge
- Qtip – The Qtip will be for easy cleanup once you fill in your brows
- Pointed wooden stick to aid in creating guides
Step One: Draw the First Guide
With the help of the pointed wooden stick, draw the lines to define the eyebrows. Rest the pointy wooden end on the outside of the nostril to the bridge of the nose. Use a beveled brush with eyebrow pomade to draw the marks. The first mark should align with the inner corner of the eye.
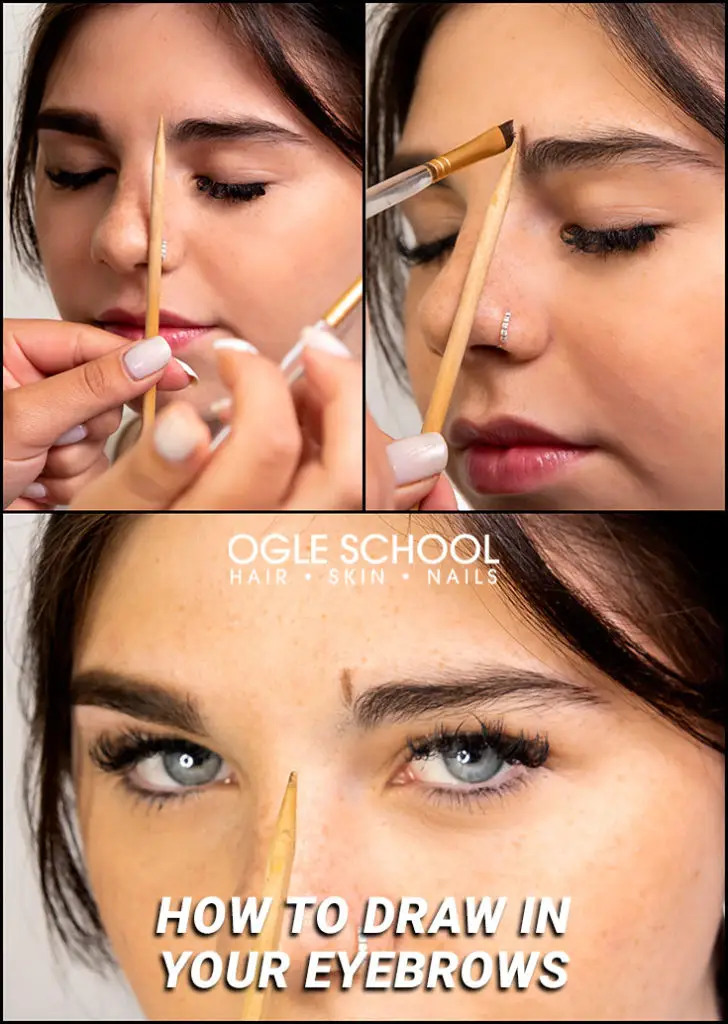
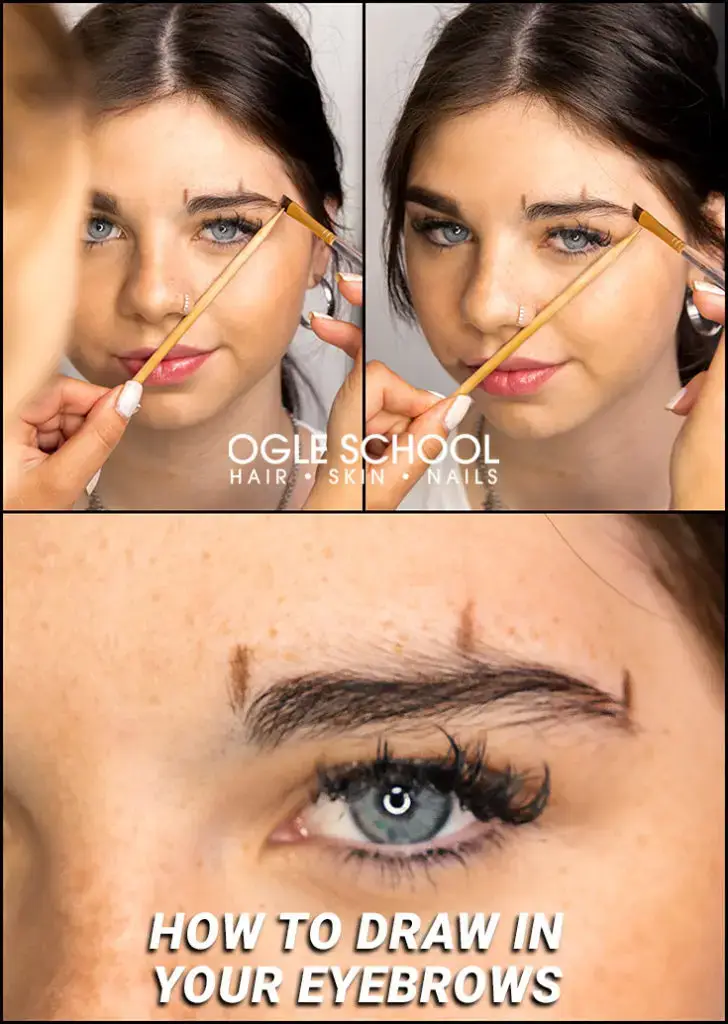
Step Two: Draw the Second Guide
The second mark should land just before the arch’s peak. To find the eyebrow’s arch, we place the wooden stick against the outer nostril, directed diagonally across the eye’s iris and ending along the eyebrow just before the peak.
Step Three: Draw the Last Guide
For the last mark, keep the wooden stick on the outer edge of the nostril in a diagonal direction, pointing towards the eye’s outer corner. Draw in the third line at the tail end (end of the brow.)
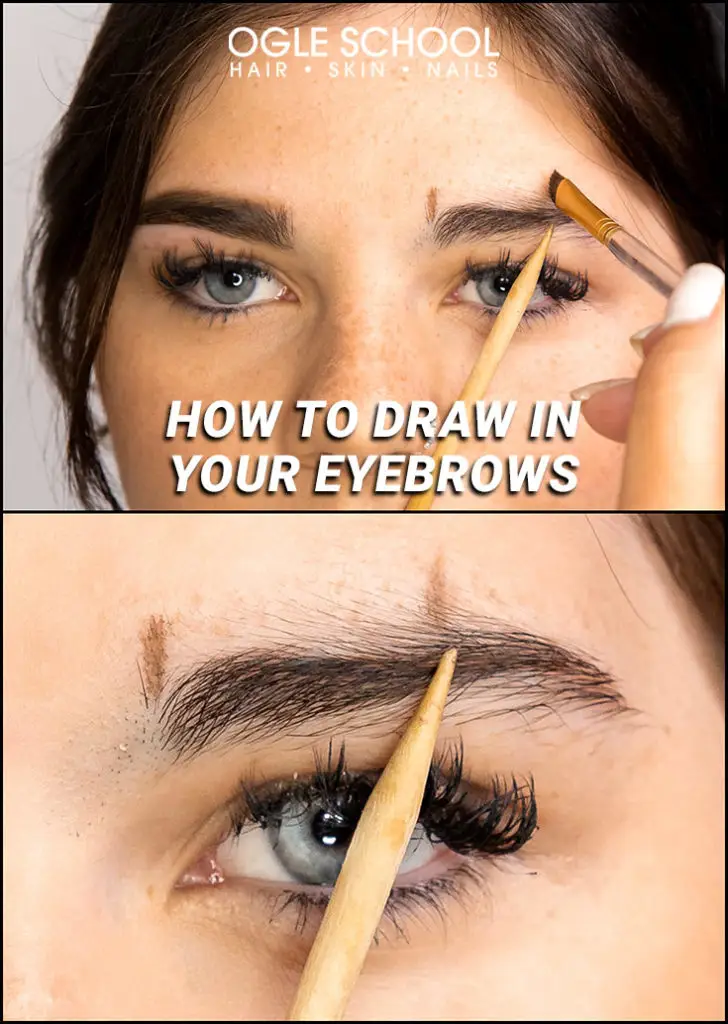
Step Four: Draw the Upper Brow Line
Now that your guides are marked, you’re ready to start creating the upper brow line. Add a bit more eyebrow pomade to the brush and draw a soft line starting where the brow begins to where it ends, connecting the guide marks. This line should contour above the brow softly.
Pro Tip: Avoid drawing with a heavy, firm grip––this will render a dark, unflattering result. Loosen your grip and reduce the pressure you would typically use. Your linework will lighten up with a loose grip and minimize the appearance of a hard line.
If this is your first attempt at drawing brows, practice on paper first. This will give you an idea of how much paint you have on your brush and how soft your lines are.
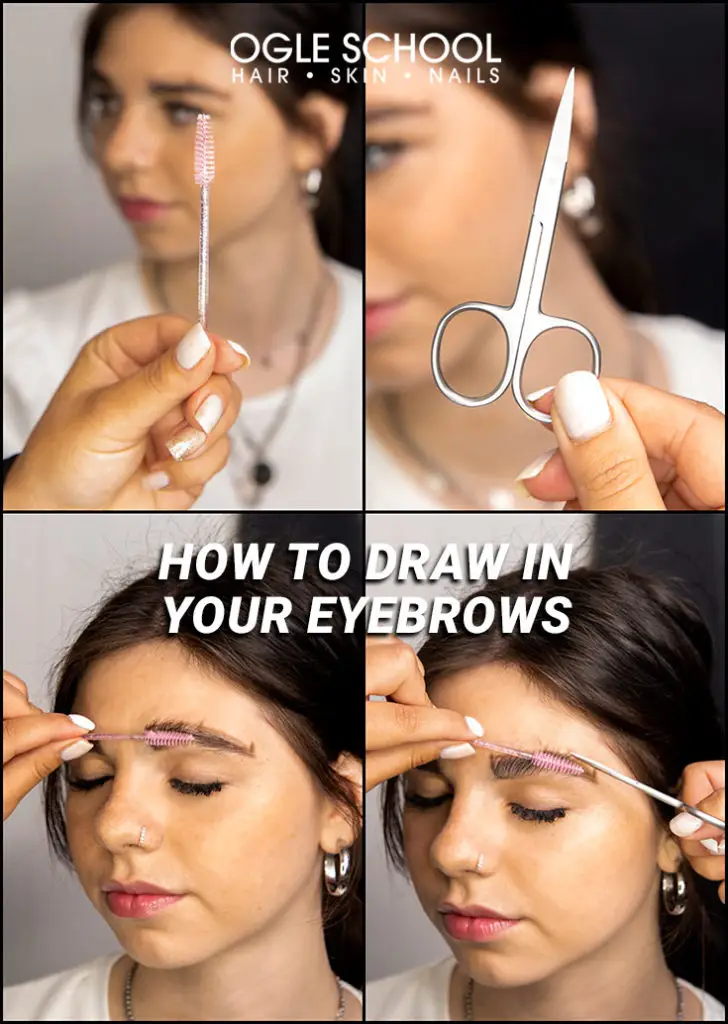
Step Five: Comb the Brow Hairs
Once the reference points have been established, and the shape of the brow is defined, using a spoolie or brow brush, comb the brow hair upward, pointing in the direction of the hairline. Brushing your brow hairs up will allow you to see the long hairs that need to be trimmed.
Trim the hair that extends beyond the guiding brow line.
Note: Trim the longer hairs cautiously. If you over-trim, you could leave scattered and sparse areas in the brow. To leave room for error, trim less hair at first.
Step Six: Remove Stray Hairs and Draw Feathery Strokes
Ideally, you’ll want to remove any stray brow hairs that grow between your brows and outside the outline. Fill in the area of the brow that appears sparse with feathery strokes. Remove stray and unwanted hair. Generally, when tweezing, pluck in the same direction the hair grows to minimize the hair becoming ingrown. Keeping the skin taut will reduce the pain and the risk of damaging the hair follicle.
Note: Fill in your eyebrows with reduced pressure and a looser grip until you achieve the desired result.
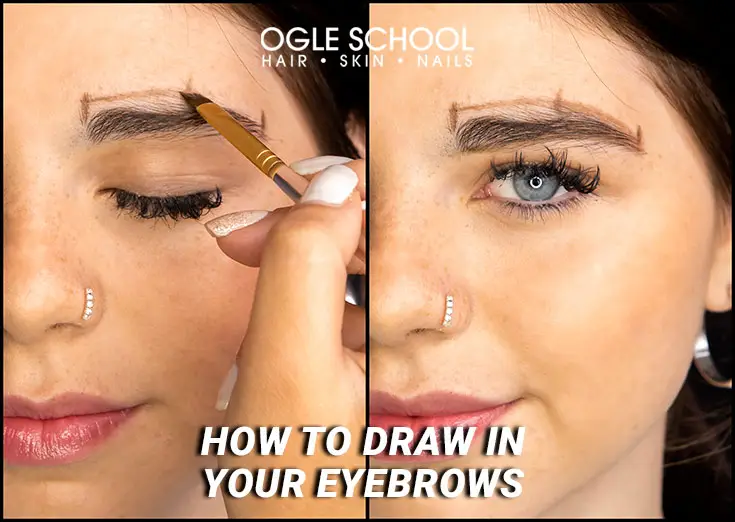
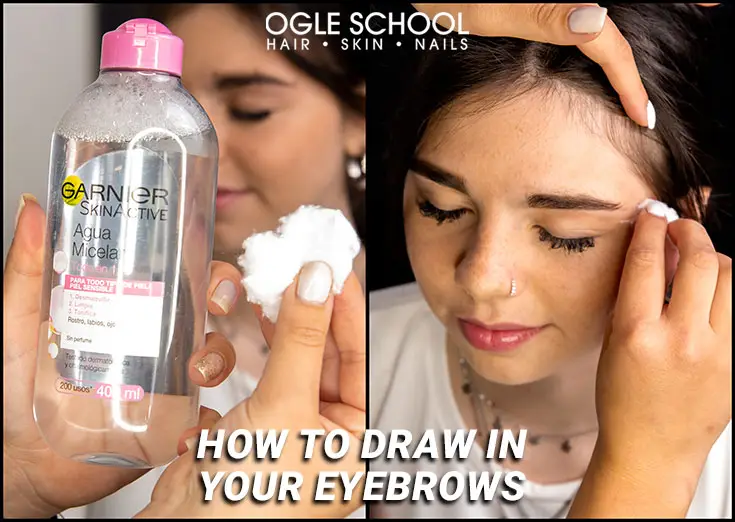
Step Seven: Clean up any Excess Pomade
Use micellar water to dab away any excess pomade on the brow until the brow looks less drawn and more natural. If any of the pomade made it onto your skin, use a sponge or a Qtip doused in micellar water to remove any unwanted marks.
Step Eight: Cleanse with Cleansing Milk
Clean the edges of the brows with cleansing milk and perfect the angles using a liner. Avoid using your finger to wipe away marks to prevent smudging.

Step Nine: Remove Smudges
Clean up any smudges with micellar water using a cotton swab, sponge, or Qtip.
Step Ten: Fill in Any Gaps
Begin adding any finishing touches. Fill in any gaps in the brow, and if you see some areas that can be darker, lightly go over them with a brush.
Note: The darkest part of your eyebrow should be beyond the peak at the tail. A good rule of thumb is to make your brows two shades darker than your hair color.
Step Eleven: Comb Stray Hairs Following Brow Shape
With a disposable brush, comb the hair following the shape of the newly drawn-in eyebrow.
Takeaways
Now that your brows have a fuller effect, not only will they look better, but you’ll feel better. To help promote growth, use a daily brow conditioning primer. These techniques and simple steps will give you the ability to achieve beautiful brows in minutes with a steady, practiced hand. If you’re looking for more ideas and tutorials on elevating your beauty tricks, visit Ogle School’s blog.