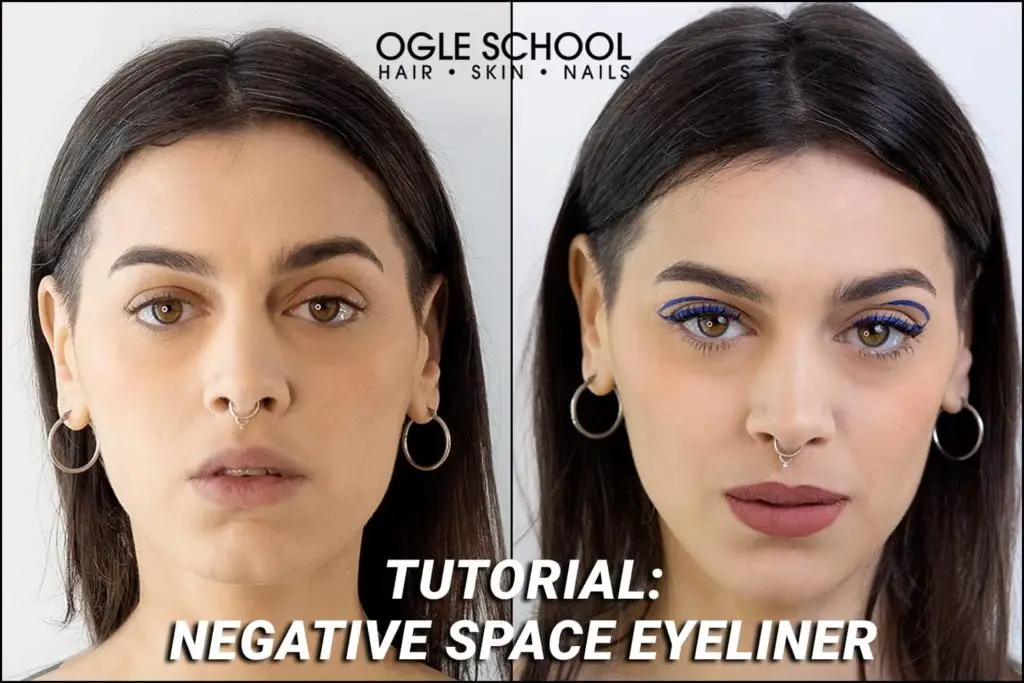
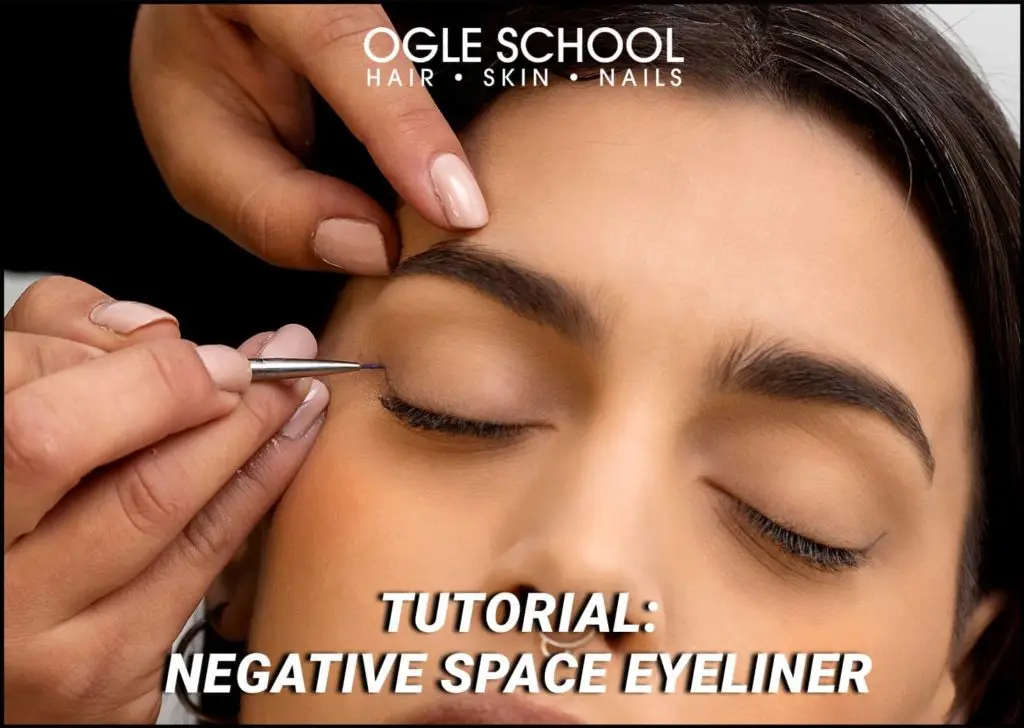
The Negative Space eye trend is a guaranteed head-turning and exciting look. You can experiment with different styles and shades and adorn your eyes will something extra, like glitter or pearls, to complement the geometric look. Before you plunge into a DIY, Negative Space Eye trend, be aware that it can smudge easily if you avoid taking the proper steps.
Follow this step-by-step guide on how to achieve this look like a pro-makeup artist. This technique is estimated to take 20 minutes. You’ll need the right tools for the job, so we compiled a list of items we used in this tutorial to get you started:
MATERIALS
- Synthetic brush (for applying the concealer)
- Liquid concealer (Idraet pro makeup)
- Sponge (for easy cleanup)
- Translucent Volatile Powder (Idraet Pro Make-Up)
- Dense powder brush
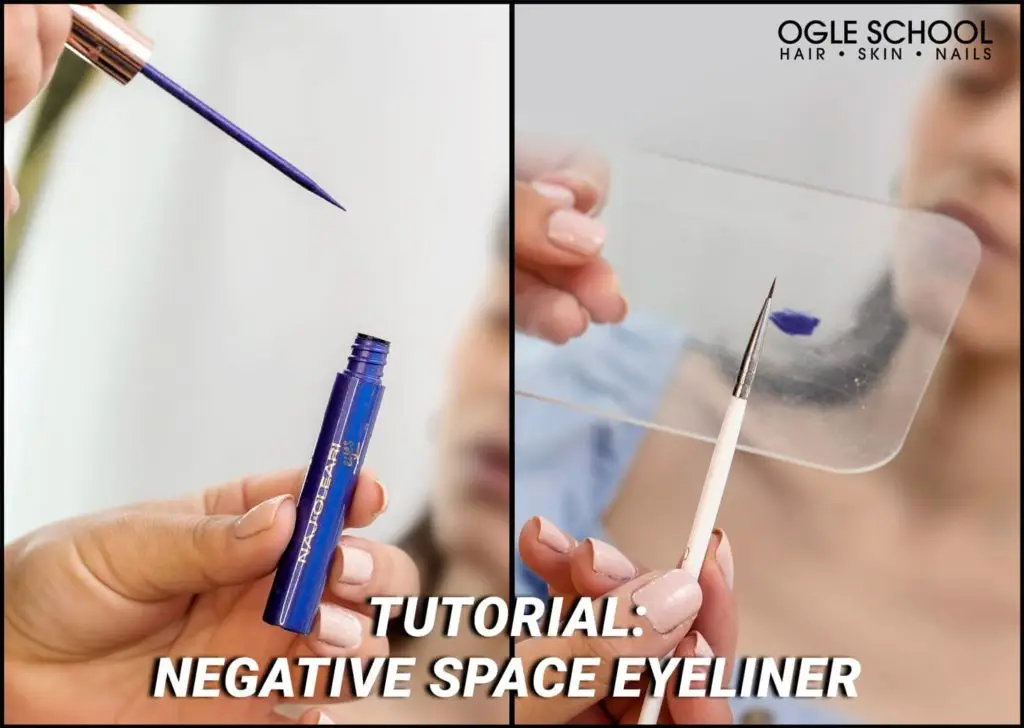
- Liquid eyeliner (Naj Oleari Shade 02 Magnetic Blue)
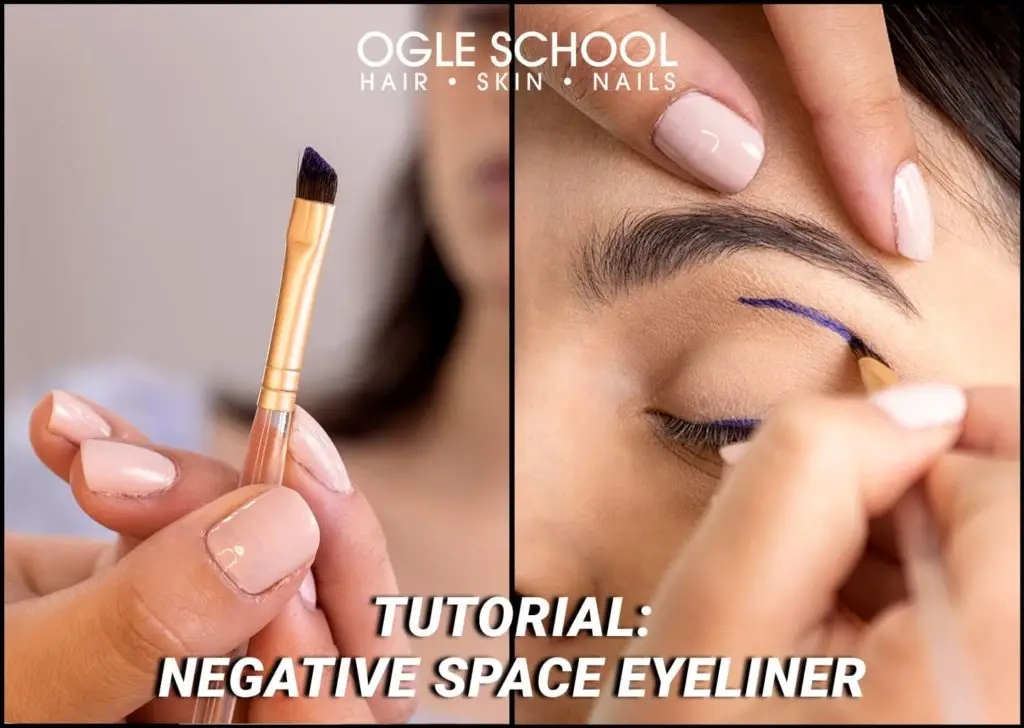
- Liner brush- beveled brush
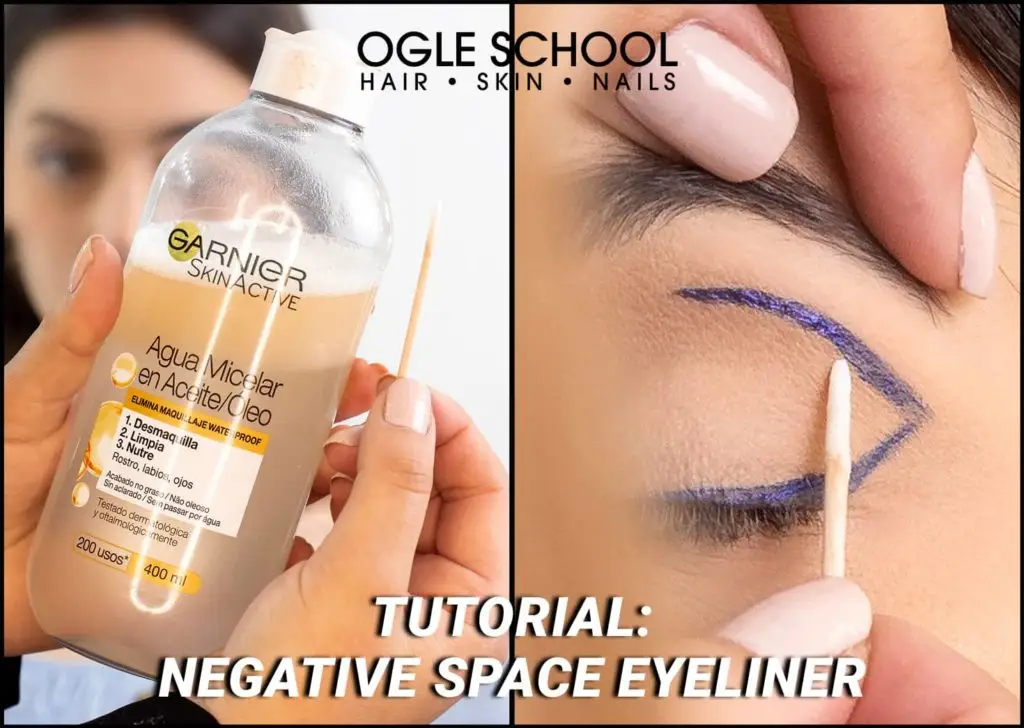
- Micellar water oil/ole by Garnier
- Swab or micro swab
Step One: Using a synthetic brush, apply concealer onto the eyelids. The concealer acts as a primer. It will create an even glow and minimize the eyeshadow from fading too fast.
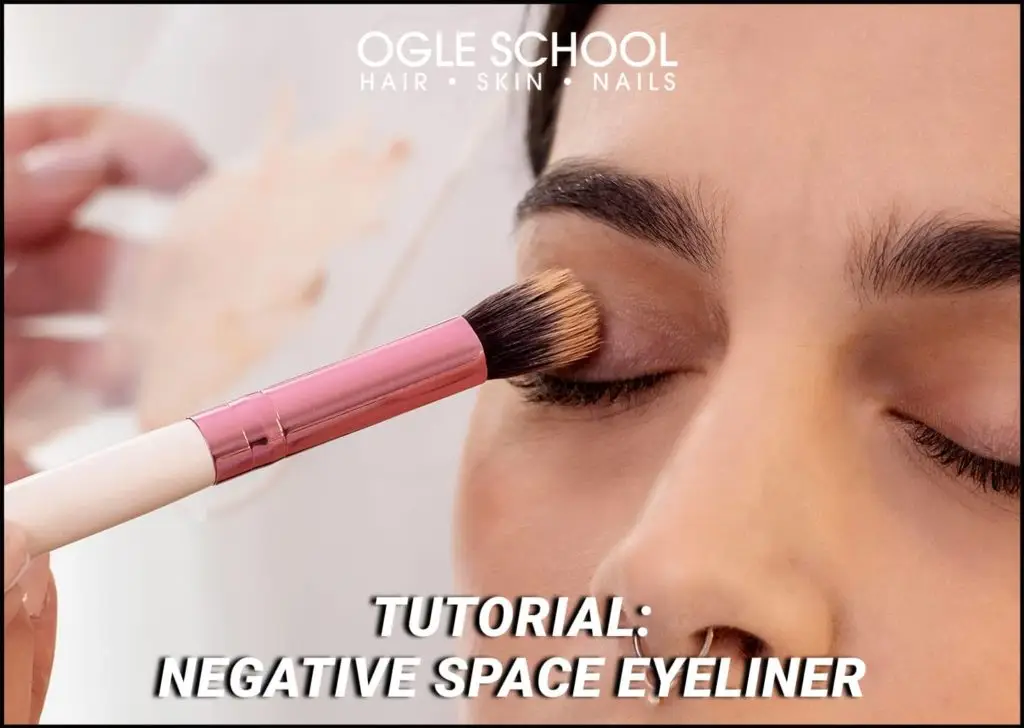
Step Two: Remove any excess concealer with a sponge to prevent it from accumulating in the crease lines.
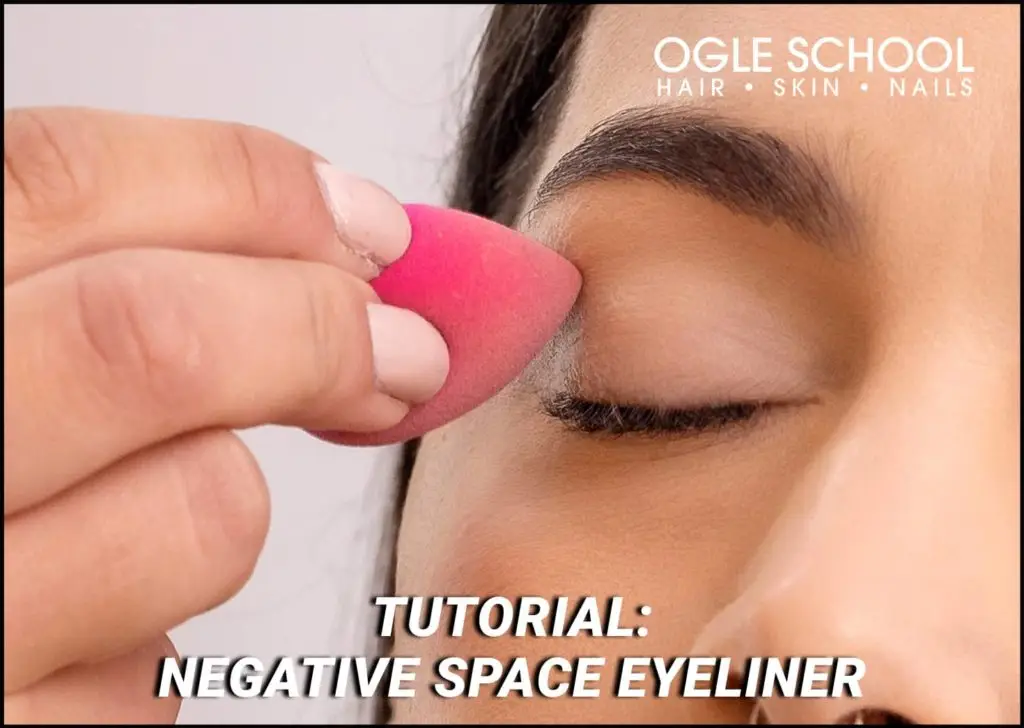
Step Three: With a blending brush, apply a light translucent powder to seal the eyelids. This step will help keep the look smudge-proof and long-lasting.

Step Four: Apply a bit of waterproof, blue liquid eyeliner onto a clean, flat surface or palette. Use a clean, fine brush for the application.
Step Five: Draw a line from the outer corner of the eye in an upward direction. It should resemble the start of a fine cat eye flick and be a guideline for the rest of the look.
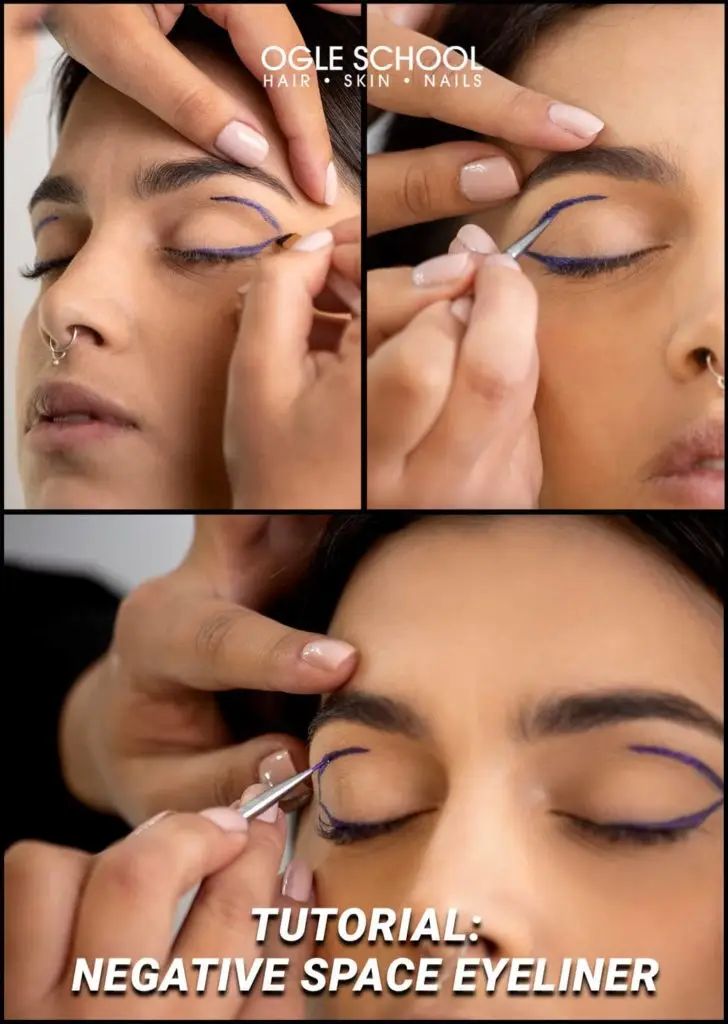
Step Six: Draw a fine, clean arching line directly over the eyelid as an additional guide before connecting the lines.

Step Seven: Finish drawing the line above the eye socket toward the corner of the eye. For precision, we recommend using a beveled brush.
Step Eight: Join the lines from the over lid to the corner-of-the-eye-cat-flick. Use a beveled brush for definition.
Step Nine: Clean up around the lines using a cotton swab with make-up remover (Micellar Water in Oil/oleo-Garnier).
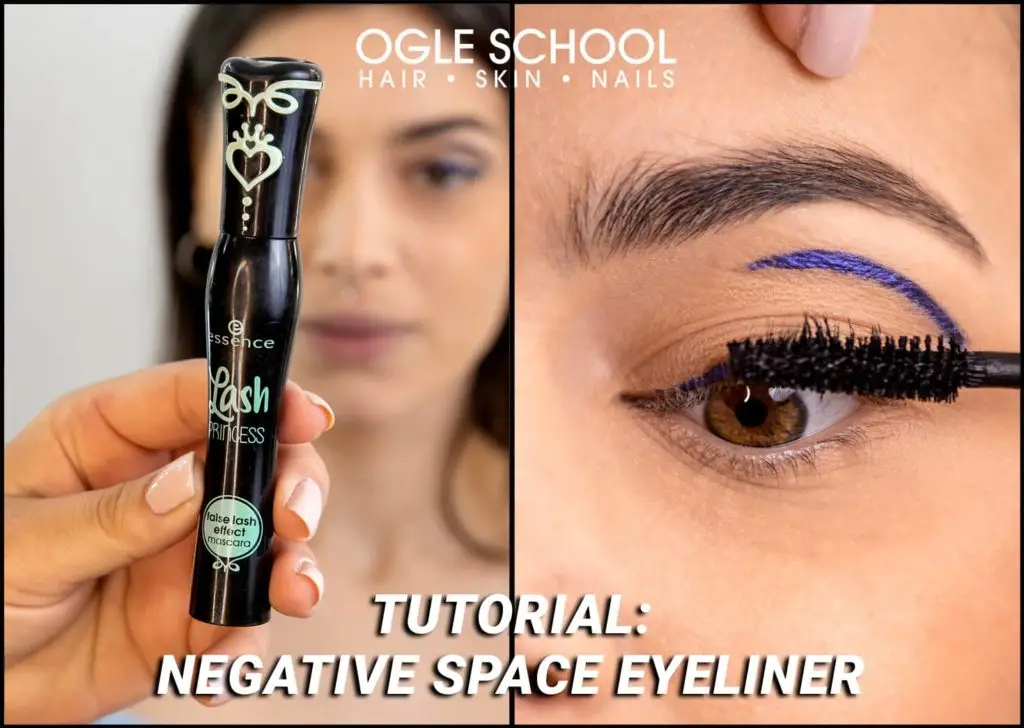
Step Ten: Add more drama to the look with high-volume mascara. It is essential to apply it from the root to the tips, with a zig-zag movement to separate each lash.
The complete look is stunning!

Do you love doing makeup, hair, skincare, nails, or all of the above? At Ogle School, we offer comprehensive courses in cosmetology and esthetics where students will learn how to master their craft and unleash their creativity.
{ “@context”: “https://schema.org/”, “@type”: “HowTo”, “name”: “CREATE A FLAWLESS NEGATIVE SPACE EYE DESIGN”, “description”: “First, prime your eyelids with concealer, and use clean fine-point brushes for application and sponges for easy clean-up. Start with the outer corner of the eye.”, “image”: “https://www.ogleschool.edu/wp-content/uploads/2022/10/featured.webp”, “totalTime”: “PT20M”, “estimatedCost”: { “@type”: “MonetaryAmount”, “currency”: “USD”, “value”: “60” }, “supply”: [{ “@type”: “HowToSupply”, “name”: “Liquid concealer” },{ “@type”: “HowToSupply”, “name”: “Translucent Volatile Powder” },{ “@type”: “HowToSupply”, “name”: “Liquid eyeliner” },{ “@type”: “HowToSupply”, “name”: “Micellar water” },{ “@type”: “HowToSupply”, “name”: “Swab or micro swab” }], “tool”: [{ “@type”: “HowToTool”, “name”: “Synthetic brush” },{ “@type”: “HowToTool”, “name”: “Sponge” },{ “@type”: “HowToTool”, “name”: “Dense Powder Brush” },{ “@type”: “HowToTool”, “name”: “Beveled brush” }], “step”: [{ “@type”: “HowToStep”, “text”: “Using a synthetic brush, apply concealer onto the eyelids. The concealer acts as a primer. It will create an even glow and minimize the eyeshadow from fading too fast.”, “image”: “https://www.ogleschool.edu/wp-content/uploads/2022/10/06NEGATIVEspaceeyeliner-1024×728.webp”, “name”: “Step One” },{ “@type”: “HowToStep”, “text”: “Remove any excess concealer with a sponge to prevent it from accumulating in the crease lines.”, “image”: “https://www.ogleschool.edu/wp-content/uploads/2022/10/06NEGATIVEspaceeyeliner-1024×728.webp”, “name”: “Step Two” },{ “@type”: “HowToStep”, “text”: “With a blending brush, apply a light translucent powder to seal the eyelids. This step will help keep the look smudge-proof and long-lasting.”, “image”: “https://www.ogleschool.edu/wp-content/uploads/2022/10/06NEGATIVEspaceeyeliner-1024×728.webp”, “name”: “Step Three” },{ “@type”: “HowToStep”, “text”: “Apply a bit of waterproof, blue liquid eyeliner onto a clean, flat surface or palette. Use a clean, fine brush for the application.”, “image”: “https://www.ogleschool.edu/wp-content/uploads/2022/10/06NEGATIVEspaceeyeliner-1024×728.webp”, “name”: “Step Four” },{ “@type”: “HowToStep”, “text”: “Draw a line from the outer corner of the eye in an upward direction. It should resemble the start of a fine cat eye flick and be a guideline for the rest of the look.”, “image”: “https://www.ogleschool.edu/wp-content/uploads/2022/10/06NEGATIVEspaceeyeliner-1024×728.webp”, “name”: “Step Five” },{ “@type”: “HowToStep”, “text”: “Draw a fine, clean arching line directly over the eyelid as an additional guide before connecting the lines.”, “image”: “https://www.ogleschool.edu/wp-content/uploads/2022/10/06NEGATIVEspaceeyeliner-1024×728.webp”, “name”: “Step Six” },{ “@type”: “HowToStep”, “text”: “Finish drawing the line above the eye socket toward the corner of the eye. For precision, we recommend using a beveled brush.”, “image”: “https://www.ogleschool.edu/wp-content/uploads/2022/10/06NEGATIVEspaceeyeliner-1024×728.webp”, “name”: “Step Seven” },{ “@type”: “HowToStep”, “text”: “Join the lines from the over lid to the corner-of-the-eye-cat-flick. Use a beveled brush for definition.”, “image”: “https://www.ogleschool.edu/wp-content/uploads/2022/10/06NEGATIVEspaceeyeliner-1024×728.webp”, “name”: “Step Eight” },{ “@type”: “HowToStep”, “text”: “Clean up around the lines using a cotton swab with make-up remover (Micellar Water in Oil/oleo-Garnier).”, “image”: “https://www.ogleschool.edu/wp-content/uploads/2022/10/06NEGATIVEspaceeyeliner-1024×728.webp”, “name”: “Step Nine” },{ “@type”: “HowToStep”, “text”: “Add more drama to the look with high-volume mascara. It is essential to apply it from the root to the tips, with a zig-zag movement to separate each lash.”, “image”: “https://www.ogleschool.edu/wp-content/uploads/2022/10/06NEGATIVEspaceeyeliner-1024×728.webp”, “name”: “Step Ten” }] }