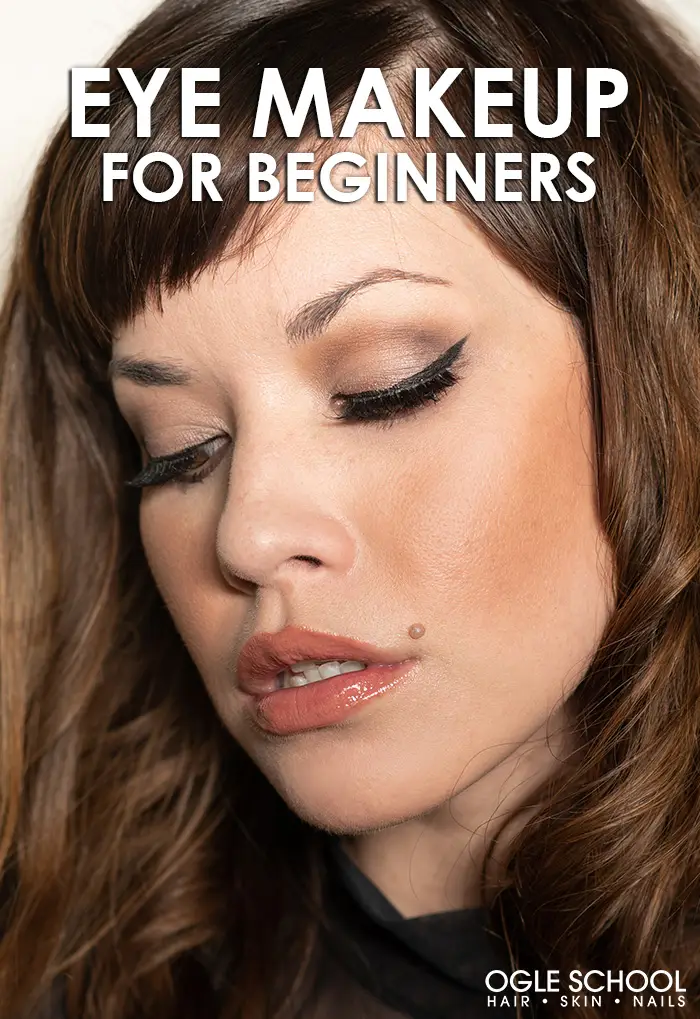
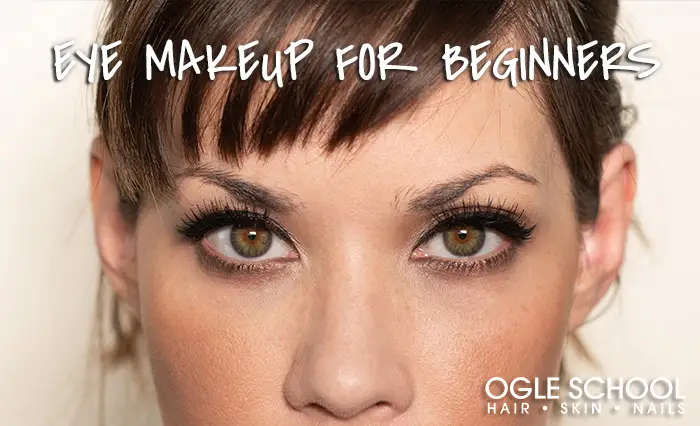
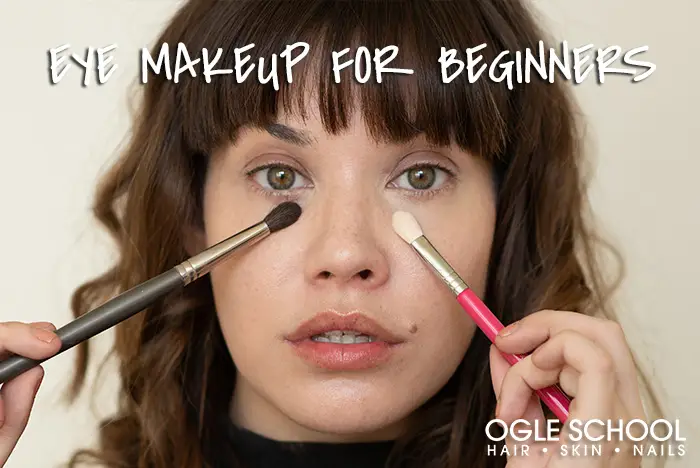
Are you a self-proclaimed beginner in makeup?
There’s no shame in that, sister. We’ve all gone through that, not knowing what brush to use, where to apply eyeshadow, let alone how to blend properly. But don’t worry, we’ve got your back! This makeup tutorial will help any beginner learn how to do eye makeup correctly and beautifully from here on out.
Ready to learn some insider tips and tricks about eye makeup application?
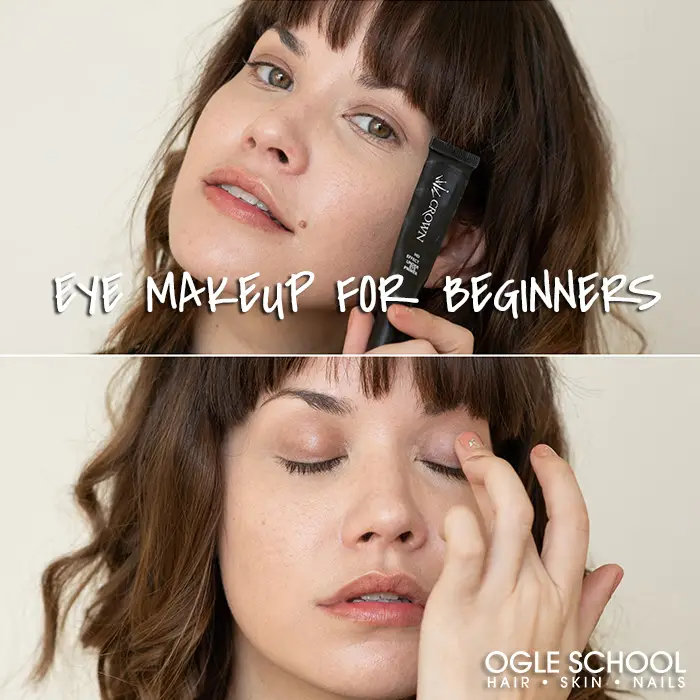
Step 1
Always start with an eye primer.
Eye primer helps create a smooth surface for the eye makeup. Once the primer has dried, you can apply an eyeshadow base that helps make the eyeshadow stick to the skin better. If you don’t have an eyeshadow base, a concealer or foundation will do.
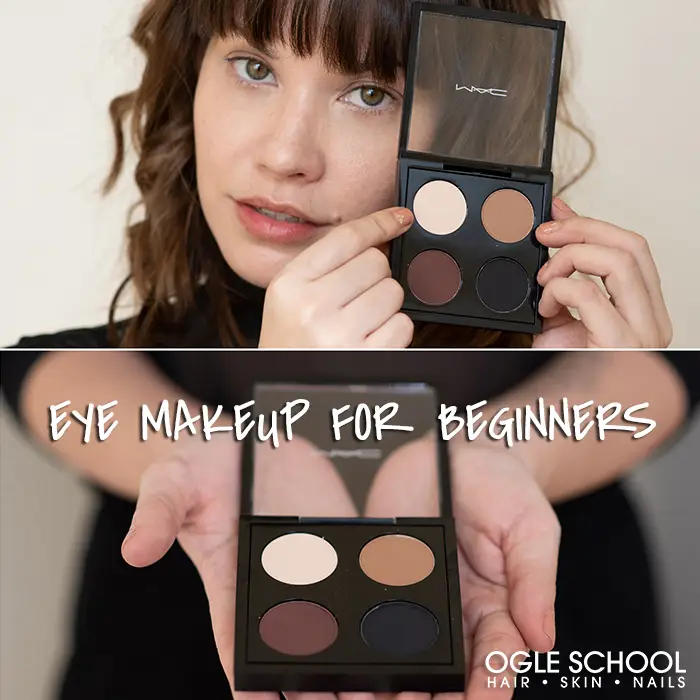
Step 2
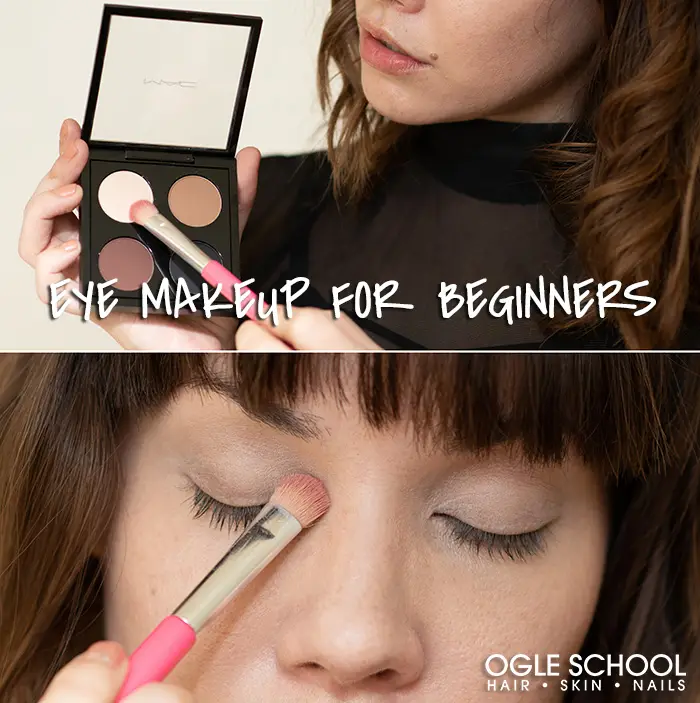
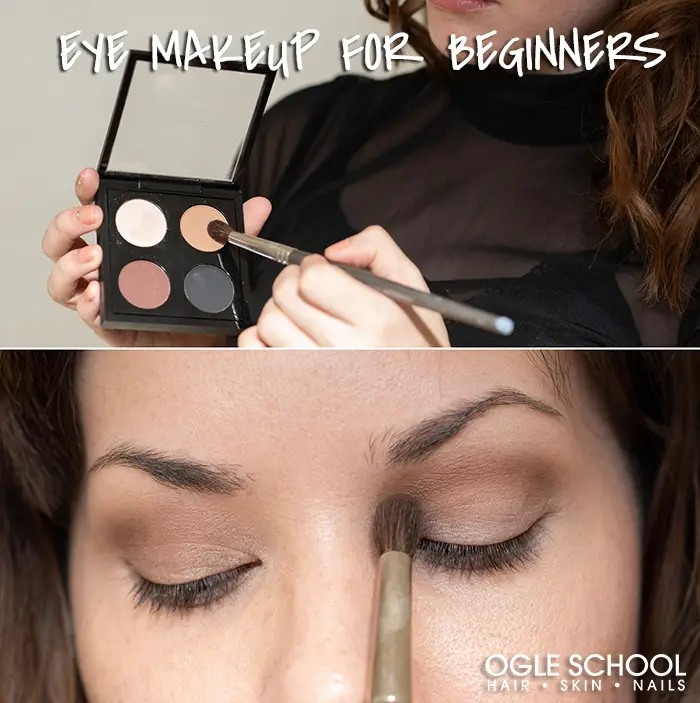
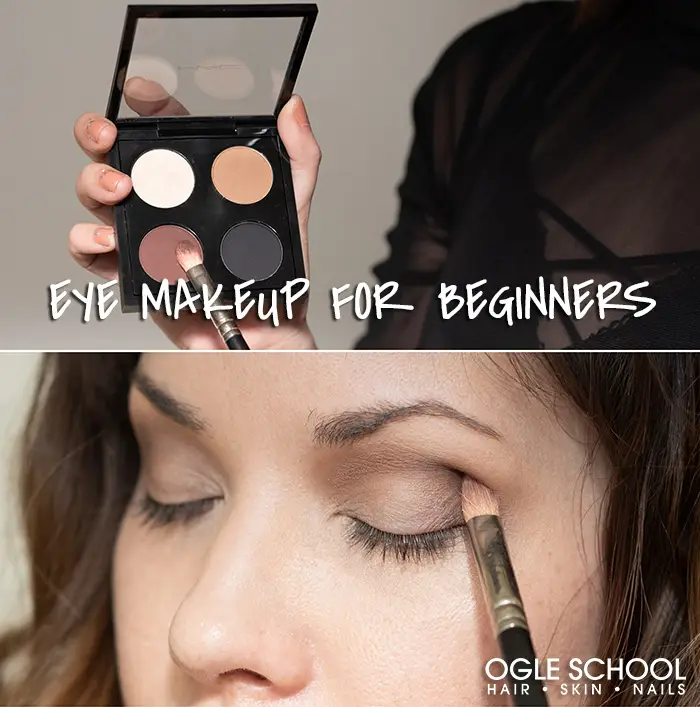
Start with 4 basic shades.
For beginners, you want to start with 4 basic shades to pull off an everyday natural look. You need a highlighter that is a shade lighter than your skin tone, a matte mid-tone shade, a contour shade that is 2-3 shades darker than the skin and a matte black shade. If you have a facial highlighter, you can use that too.
Step 3
Grab the essential eye makeup brushes.
You will need a small flat eyeshadow brush for application, a small and medium-sized blending brush and a smudger (optional).
Step 4
Glide your flat brush on the lightest shade and apply this on the inner corner of the eyes. This is where most of the product should be and then you can easily blend outwards after.
Make sure to tap your brush before applying to remove excess product.
Step 5
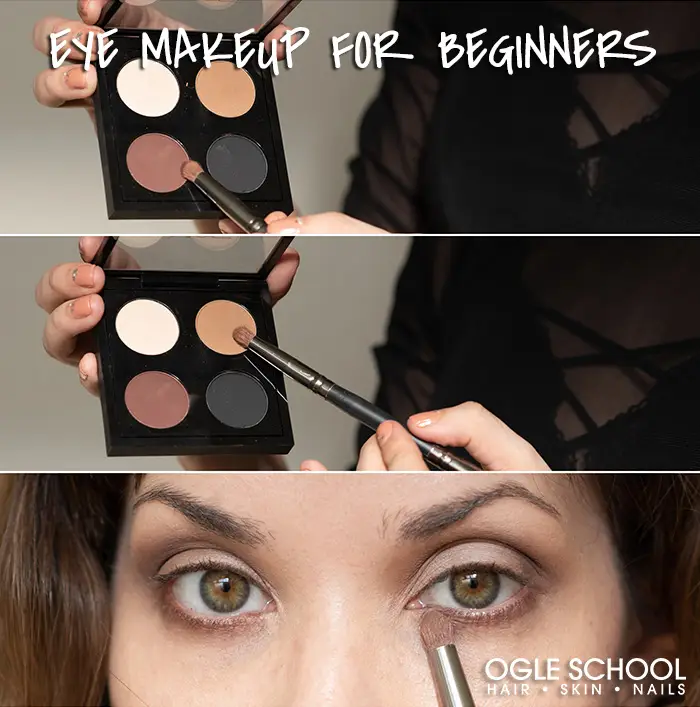
Here’s a neat trick you can try: Dip the tip of the brush in water enough to dampen it. Then glide it on the eyeshadow and apply again in the inner-most corner of the eyes (tearduct area). You’ll be amazed at how pigmented it is.
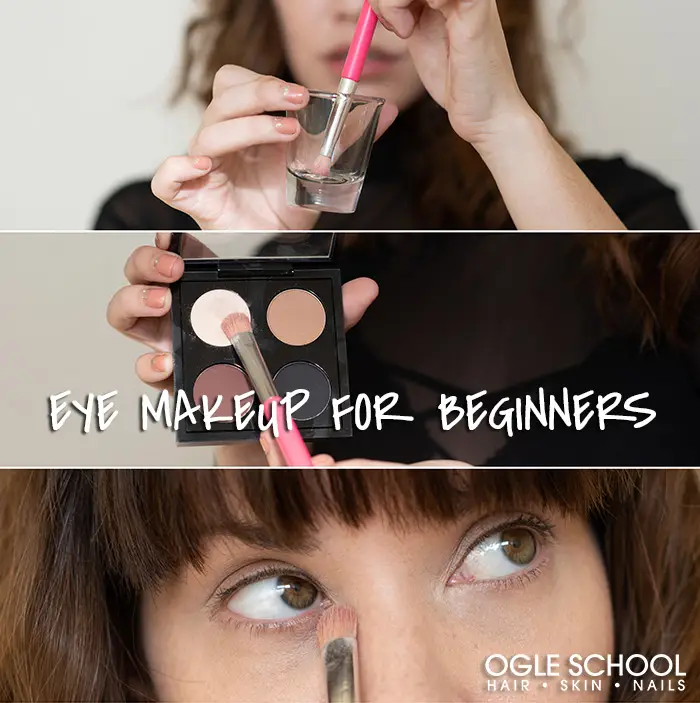
When you’re done with that, use the same color and highlight the arch of your eyebrows.
Step 6
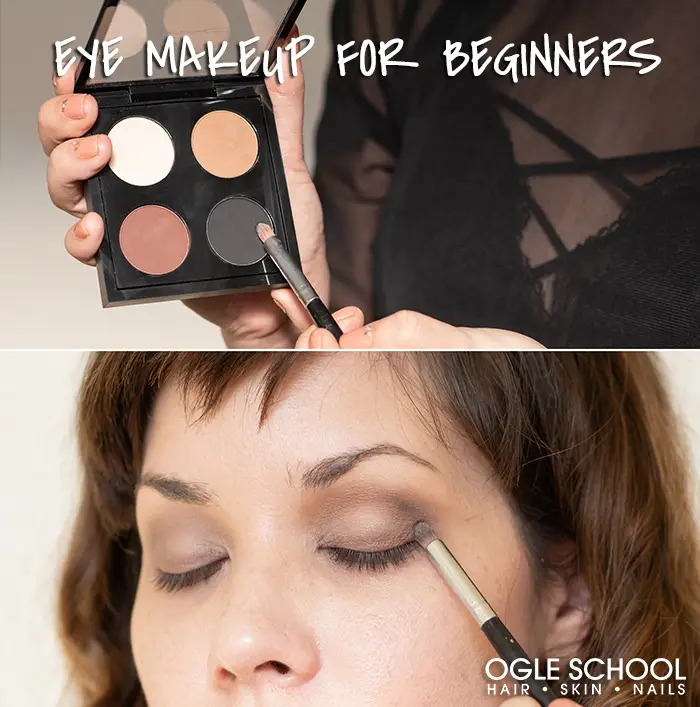
Now on to the mid-tone shade. Use a blending brush to apply the eyeshadow above the crease, blending from the outer corner inwards.
How will you know you didn’t overdo it with the shadow? Hold your brush at the edge of your nose going up to the edge of the eyes. Anything below the line should be clear.

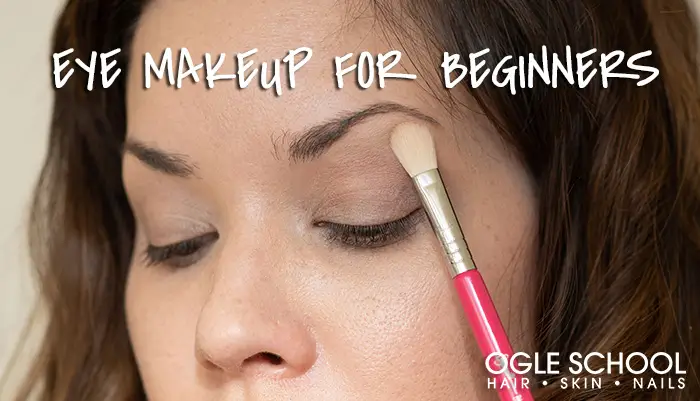
Step 7
Contour the eyes.
Using the contour shade, apply from the outer corner while blending into the crease on the outer half of the eye. Please make sure that you don’t blend too high because the mid-tone shade should always be higher than the contour shade.
Step 8
Your eyelid makeup is done so you can now proceed to the bottom part of the eye. Mix the mid-tone color and the contour shade and apply on the bottom lash line starting from the outer corner until it meets the highlighter.
Step 9
To complete the look, apply the matte black eyeshadow on the outer corner of the eyes and close to the bottom lash line. This will make the eyes a little more dramatic.
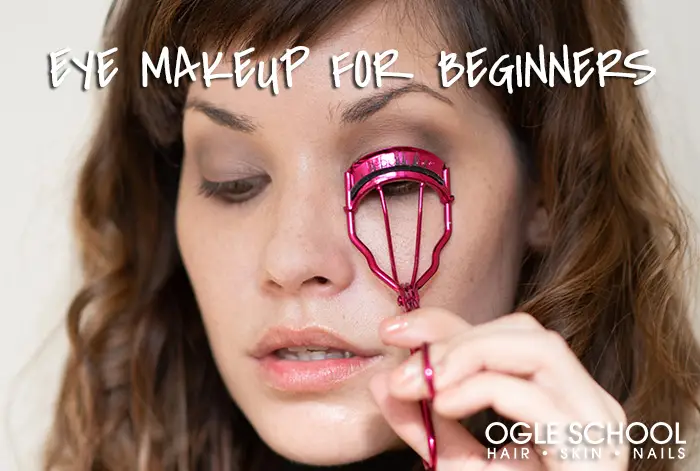
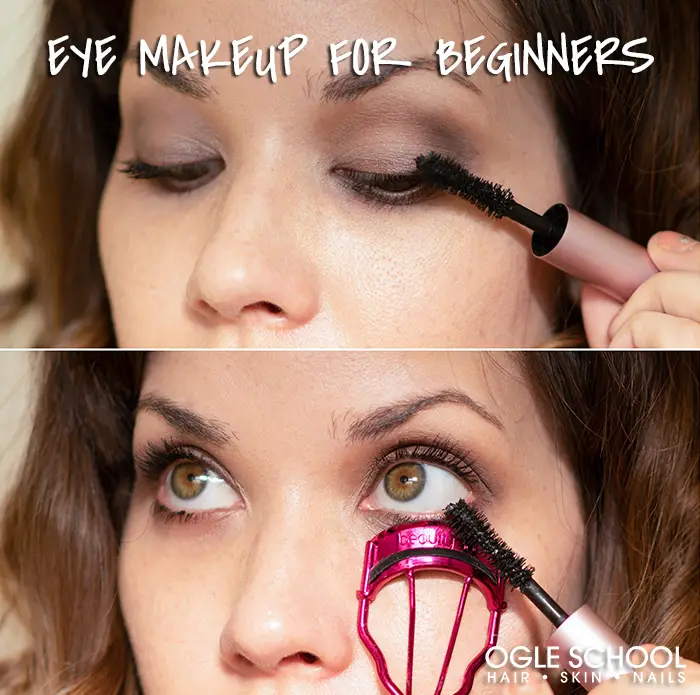
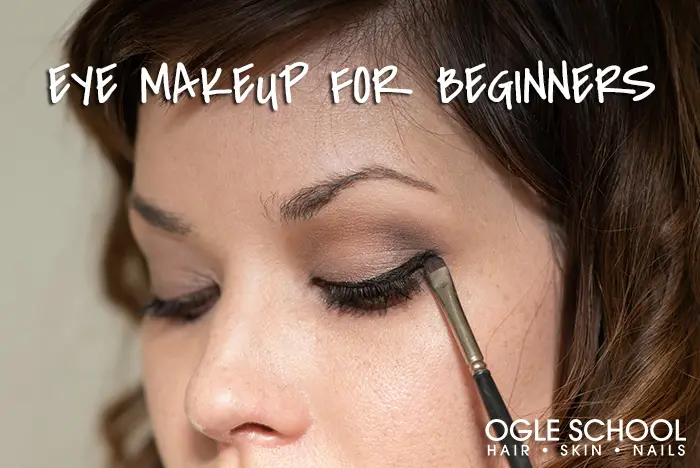
Step 10
But of course, it won’t look as pretty if your lashes aren’t curled…
then mascara…
eyeliner….
and with practice, false eyelashes too!
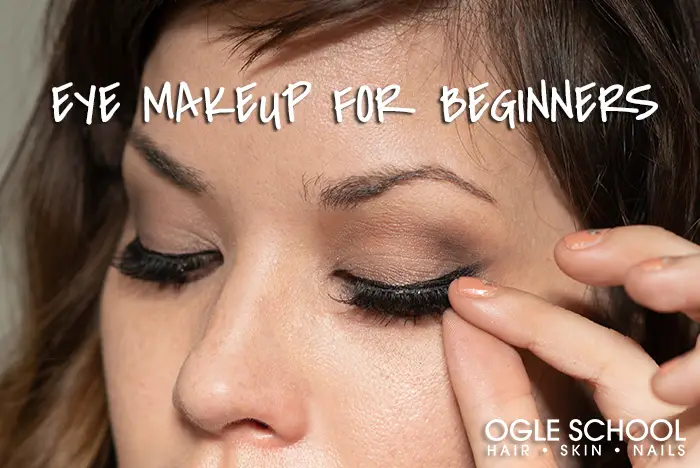
As you can see, this basic natural eye makeup is quite easy and with some practice, you’ll be able to master it. Once you do, blending colors and creating new looks will be as easy as eating pie!
Don’t forget to wash your brushes!
This post was contributed by MakeupTutorials.com