Cosmetology, Esthetics & Beauty School Blog
TutorialsSkin
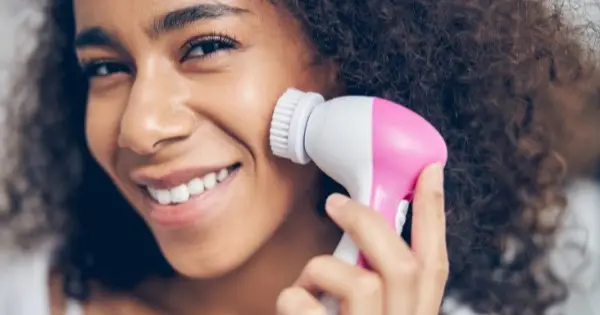
A Beginner’s Tutorial Guide to Face Brushing
Face brushing can be a great addition to your general skin care routine. Here’s what you should know about using this tool.
… Read More