


On this page
Face contour uses strategically placed deeper tones to create the look of shadow and dimension. It works with the light and shadow already there, adding depth to certain areas so your features read with more shape in photos and in person. Highlighting and contouring makeup work together: contour adds shadow, and highlighter draws attention to the areas you want to stand out, like the tops of your cheekbones or the bridge of your nose.
If you’ve searched “how to contour my face” and are trying it for the first time, you don’t need a dramatic, full-glam look to see the benefit. A soft, barely-there contour can add definition just as well as a bolder version. This guide covers picking the right product and blending it out step by step.
What You’ll Need to Contour Your Face

You don’t need an extensive kit to start. A few well-chosen products and one or two tools are enough.
Makeup: foundation or your preferred base, contour product, highlighter, concealer (if you use it), blush (if desired), and setting powder or spray (if your routine calls for it).
Tools: contour brush, angled brush, blending brush, makeup sponge, or fingers for certain cream formulas.
Cream contour often blends well with a sponge or your fingers, while powder contour usually works best with a brush made for the job.
Choosing the Right Contour Product
Cream contour is blendable and creates a seamless, buildable finish. Apply it with a brush, a sponge, or your fingers, depending on the formula. It sits closely to the skin, which some people prefer for a natural-looking contour.
Powder contour is easy to build up gradually and often works well over set makeup. It’s typically applied with a contour or angled brush, and it can offer more control while you’re learning contour placement.
Shade matters as much as formula. Contour should mimic shadow, so look for a cool or neutral undertone rather than the darkest option on the shelf. Too dark a shade can look like a smudge instead of a shadow. Aim for one or two shades deeper than your natural skin tone, believable against your complexion rather than obvious.
How Do You Contour Your Face?
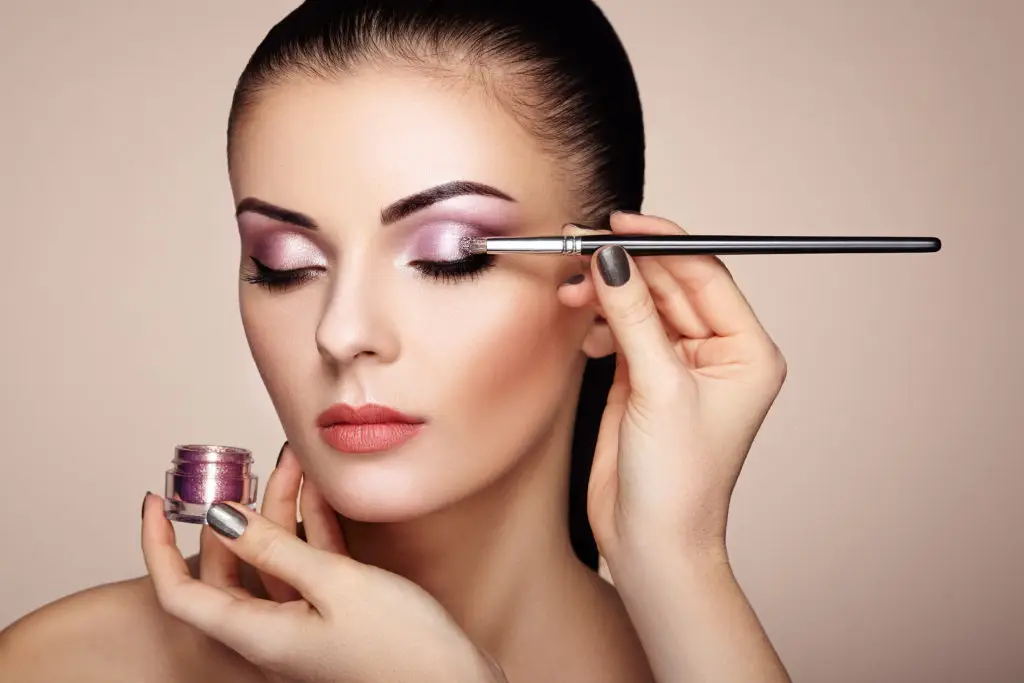
So, how do you contour your face? In short, apply a deeper-toned product where you want shadow, most often the hollows of the cheeks, the jawline, and the sides of the forehead, then blend so the edges soften into your base makeup. If you’ve been asking “how do I contour my face without overdoing it,” the answer is to build up slowly and blend often. Here’s how to properly contour your face, step by step.
Step 1: Prep Your Skin and Apply Your Base
Start with your usual skincare routine, then apply foundation or your preferred complexion product for a clean, even base to build contour on.
Step 2: Map Out Your Cheek Contour
Find your cheekbone by smiling slightly, then apply a small amount of contour in the hollow just beneath it. Keep the placement controlled rather than drawing one long, heavy line, and build the color up gradually.
Step 3: Add Definition Around the Forehead
If you want more shape near the hairline, apply a small amount along the temples. Whether you use forehead contour at all depends on your features and the look you’re after. Skipping it is just as valid as including it.
Step 4: Define the Jawline
Apply a small amount along or just beneath the jawline, then blend carefully into the rest of your makeup and toward the neck if needed. A visible stripe along the jaw is an easy mistake to spot, and extra blending is the easiest fix.
Step 5: Contour the Nose, If Desired
Nose contouring is completely optional. If you try it, use a small amount along the sides of the bridge and blend thoroughly. Placement along the sides of the bridge adds subtle dimension and a more sculpted line down the nose, while a small amount blended just under the tip can soften its shape or shift how prominent it looks, depending on the angle you blend toward.
Step 6: Blend Your Contour
This is arguably the most important step. Soften the edges of your contour into your skin rather than removing the placement altogether. Check your makeup from a few angles, since harsh lines show up more in natural light. Build gradually. It’s easier to add more contour than to take it away.
Step 7: Add Highlight
Highlighter works with contour to bring focus to the areas you want to stand out. Common placement includes the tops of the cheekbones, the center of the forehead, down the bridge of the nose, the brow bone, and the cupid’s bow (the dip above your upper lip). Choose the placement that fits the look you’re building rather than hitting every spot.
Contouring for Different Face Shapes
Face shape can be a helpful starting point, but it isn’t a rulebook. Your features and the look you want matter more than fitting a formula.
| Face Shape | Contour Placement | Visual Effect |
| Round | Hollows of the cheeks, sides of the forehead | Adds definition to softer curves |
| Oval | Cheekbones, jawline | Enhances natural balance |
| Square | Corners of the forehead, jawline | Softens angles while keeping definition |
| Heart-shaped | Sides of the forehead, tip of the chin | Balances a wider forehead with a narrower chin |
| Oblong/long | Hairline, beneath the chin | Adds width, breaks up length |
These are starting points, not requirements. The goal is to define the features you want to highlight, not correct anything.
When Should You Contour Your Face?

The question of when to contour your face has two answers, depending on what you mean. Contour typically goes on after complexion products and before powder or blush, though the order depends on the formulas you’re using. A common routine: foundation or another cream complexion product, concealer, cream contour, setting powder, powder contour, blush, then highlight. Cream and powder don’t always layer the same way, so if your contour looks patchy, try adjusting the order or letting one layer set before adding the next.
As for when you should wear contour, that’s up to you. Some people wear it daily; others save it for special occasions, photography, or a more polished glam look. A soft approach suits everyday wear, while a more dramatic application holds up under bright lights or cameras. Contour is optional. Reach for it when it fits the look you want, not because a makeup routine needs it to feel complete.
Contour vs. Bronzer: What’s the Difference?
Contour and bronzer often get lumped together, but they serve different purposes:
| Contour | Bronzer | |
| Purpose | Creates shadow and definition | Adds warmth |
| Placement | Areas where you want dimension | Areas where warmth looks natural |
| Finish | Usually matte | Matte or luminous |
| Overall Effect | Sculpted, defined | Warm, sun-kissed |
Some looks use both, contour for dimension and bronzer swept over the high points for warmth. They’re complementary, not substitutes.
Common Contouring Mistakes to Avoid
These mistakes apply whether you’re contouring your own face or someone else’s.
- Choosing a shade that’s too dark for the skin tone it’s applied to
- Applying too much product before building up gradually
- Skipping the blending step, which leaves harsh lines
- Using bronzer as a stand-in for contour without considering undertone
- Placing contour the same way on everyone without adjusting for differences in features
- Applying too much product around the nose
- Leaving visible lines near the hairline or jaw
- Mixing formulas without considering how they layer together
Start with less product than you think you need. Building up is easy; taking it back once it’s overdone is not.
Practice Professional Makeup Techniques at Ogle School
Contouring is one small piece of a larger skill set in professional makeup application. Cosmetology students learn how product formulas, color theory, and skin tone work together, plus how to read a client’s features during a consultation.
At Ogle School, students build these skills through a hands-on cosmetology training program that covers makeup application alongside sanitation, product knowledge, and client communication.
Take Your Beauty Skills Further
Ogle School offers programs at campuses across Texas and Georgia. Explore our campus locations to find one near you, and let our team walk you through the application process if you decide to enroll. If you’re weighing the cost, review the financial aid resources available for tuition planning. When you’re ready, you can request information and get your questions answered.
FAQs
What’s the difference between contour and bronzer?
Contour creates shadow with a cool or neutral tone, while bronzer adds warmth with a golden tone. They’re often used together but aren’t interchangeable.
Should contour be lighter or darker than your skin?
Darker, usually by one or two shades. Look for a shade that reads as believable shadow rather than a stark contrast.
Can beginners use cream contour?
Yes. Cream contour is often easier to blend since it stays workable longer than powder, giving you more time to soften the edges.
How do you keep contour from looking muddy?
Muddy contour usually comes from too much product, skipped blending, or mixed formulas that don’t layer well. Build up gradually and let each layer set before adding the next.
Do you put blush on before or after contour?
Blush typically goes on after contour, though the order can shift depending on whether you’re using cream or powder products.
Do you need to contour your nose?
No. Nose contouring is optional. Plenty of makeup looks skip it entirely, and that’s just as valid as including it.