On this page
What’s the easiest hairstyle to create that also look great? For mornings when you either want to sleep in or don’t want to get fancy with your hair, the messy bun has your back!
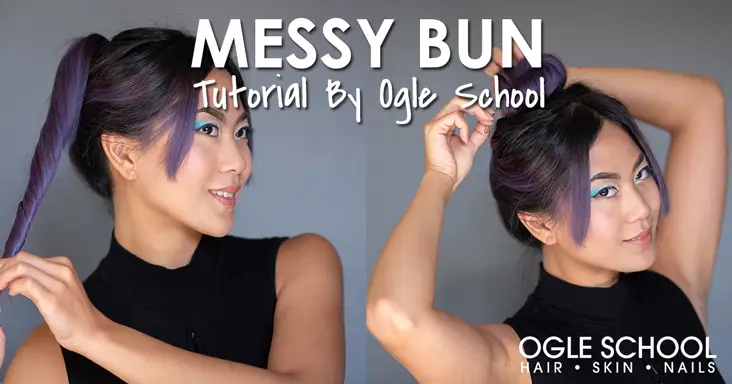
This tutorial is perfect for women who want stylish hair without the fuss and hassle. It takes just a few minutes to walk through the steps of this tutorial, transforming long, loose hair into an updo that’s casual and classic.
Because results like this are so easy to achieve, you can go ahead and hit that Snooze button.
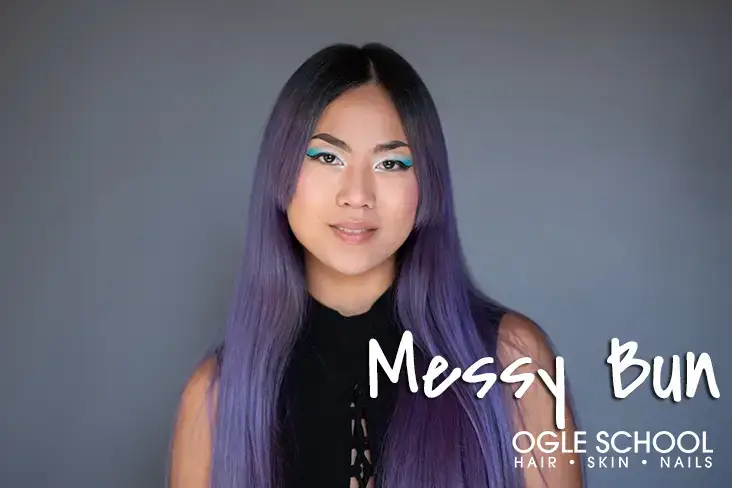
Find out the easiest way to transform your bedhead hair into a trendy bun.
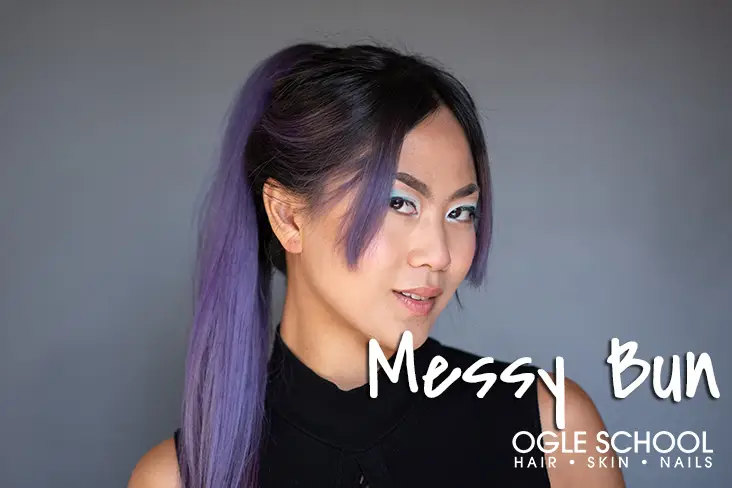
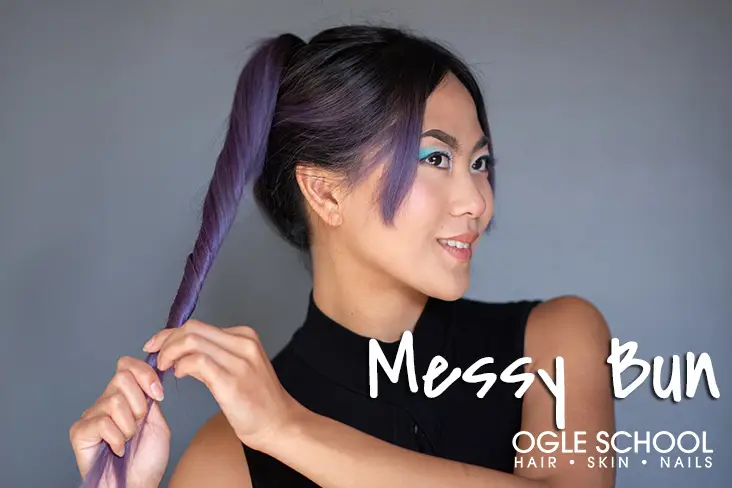
Step 1: Make a Ponytail
Start by brushing your hair out straight and creating part just to the side of center.
Now, gather your hair up into a ponytail, sweeping the sides back and up. The ponytail can be at whatever height you want, but a classic height is at the crown of your head. A higher ponytail sets you up for a top bun, and a ponytail toward the back of your head streamlines your look.
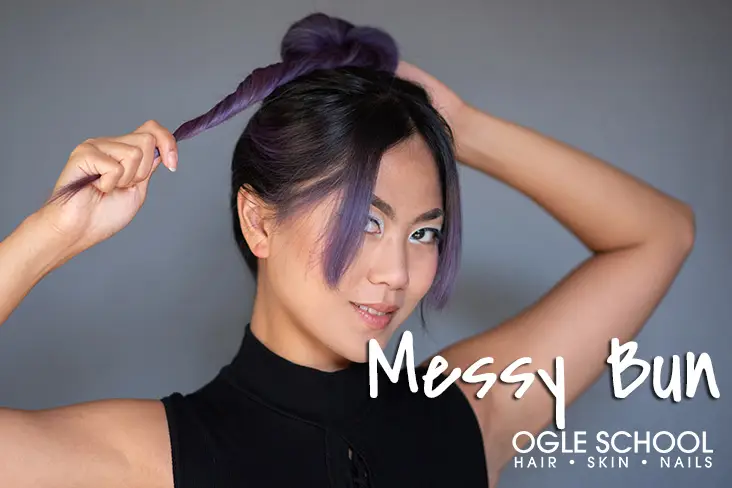
Step 2: Twist and Coil the Bun
Starting at the elastic band, tightly twist the length of your hair, working downward toward your ends.
In the same direction that you were twisting, coil the length of your hair around the elastic. Circle the elastic as many times as you need to in order to get the full length of your hair wrapped.
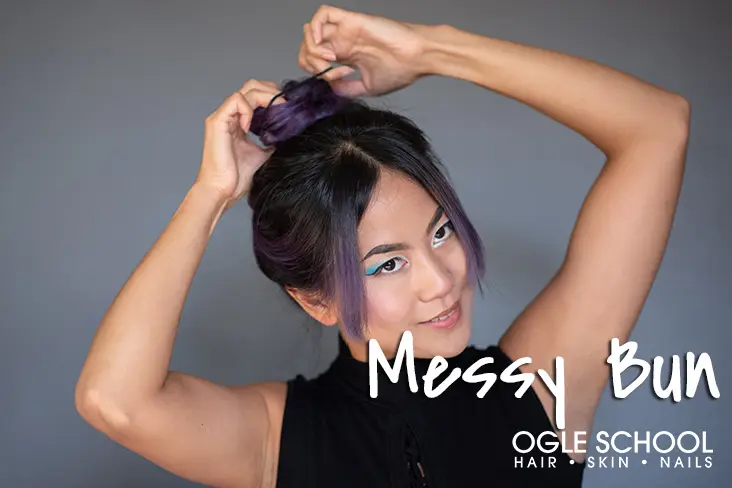
Step 3: Fasten and Stylize Bun
Secure the bun with an elastic band. Fine hair can use thinner elastic, but those with thick or long hair should use heavier elastic to hold everything in place.
Now, stylize your bun by selectively loosening small sections of hair. This adds volume and creates that casual, messy look. Make sure to pull strands out from both the top and bottom of your bun to keep it even.
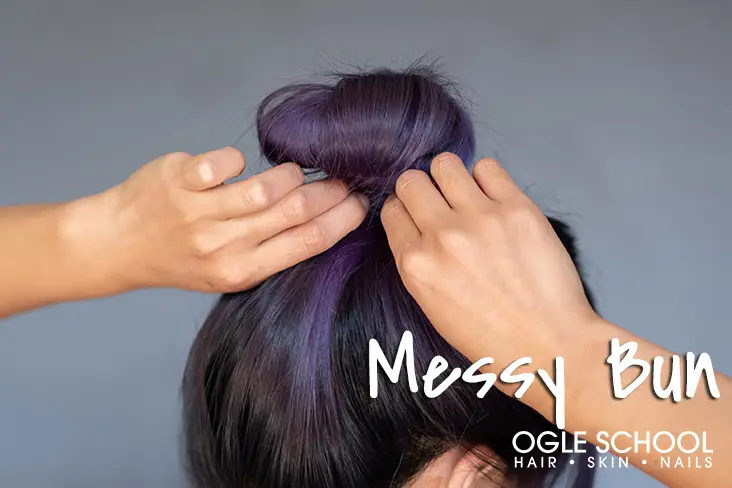
Step 4: Add Pins
Use bobby pins around the edges of your bun to secure it and add shape to your messy bun.
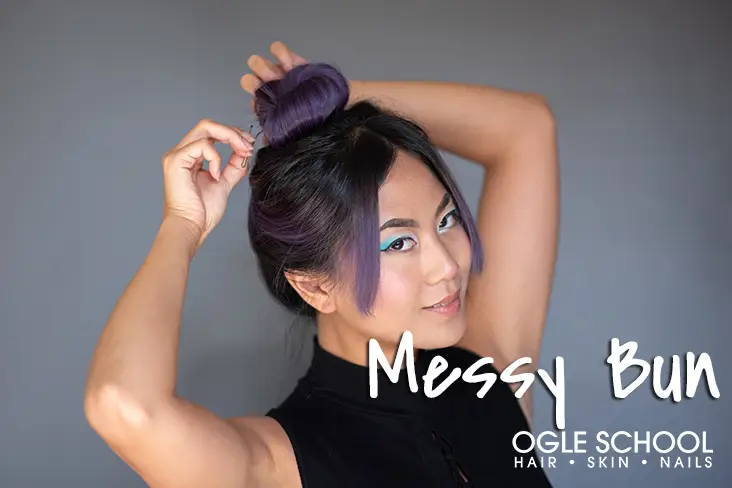
We like to use curved bobby pins because they lay flat against your head.
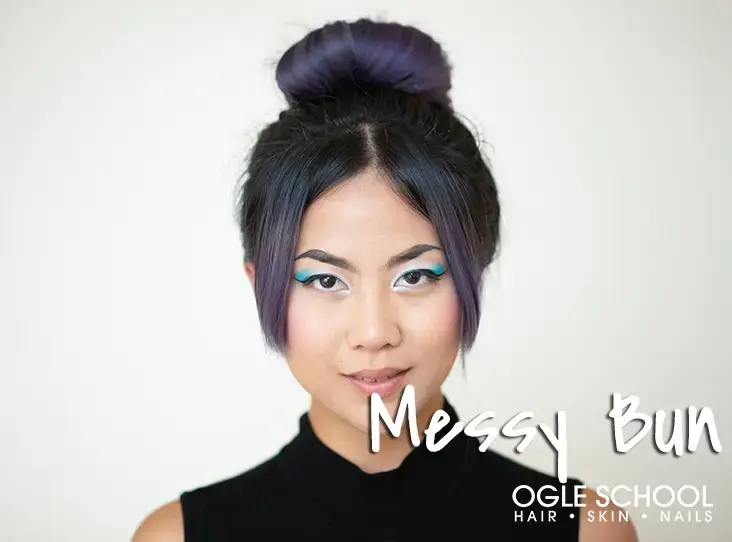
Step 5: Spray to Set
Once you’re satisfied with your bun, spray hairspray around it to keep it in place. Be sure to spray the upsweep at the nape of your neck where fine hairs might fall down.

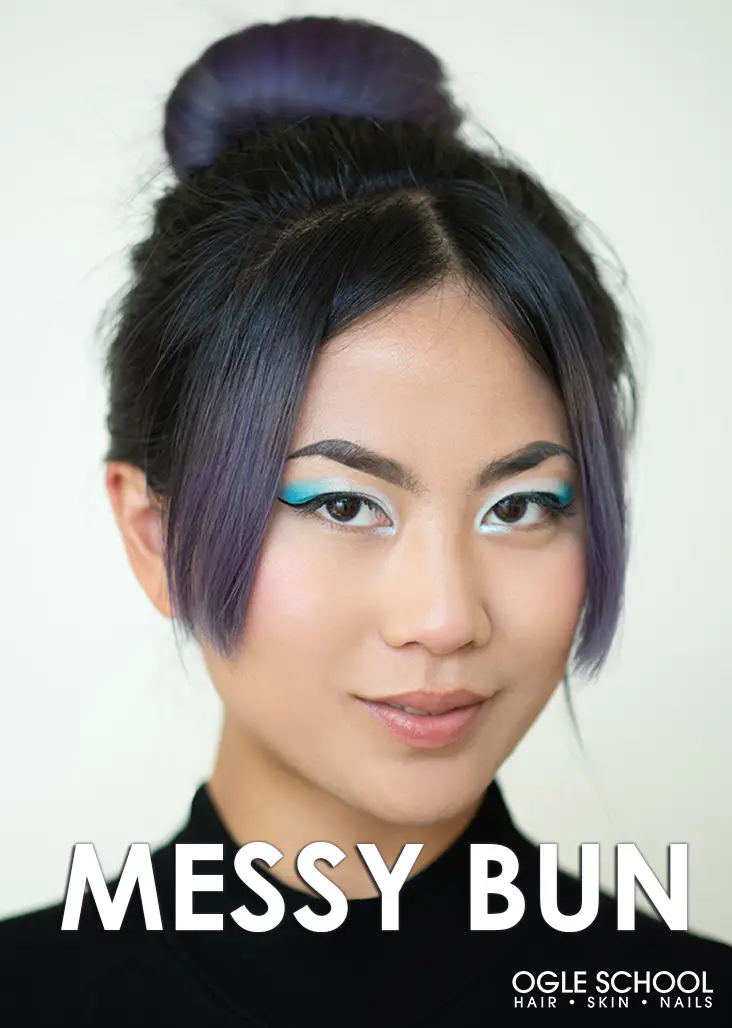
It’s that easy! Your messy bun looks fabulous, and you’re ready for your day in no time at all!
For a fresh-faced look, match this messy bun with the look we explain in our nude makeup tutorial. Alternatively, you can amp up your messy bun with some glittery and colorful makeup with sequins and rhinestones.
Do you want to stay on the cutting edge of hair trends? Find out how Ogle School’s Cosmetology Program can help you launch your career in hair and beauty.