On this page
During a coronavirus quarantine, you don’t need to visit the salon to freshen up your haircut. With this tutorial on how to cut your own hair, you’ll learn how easy it is to get amazing DIY style.
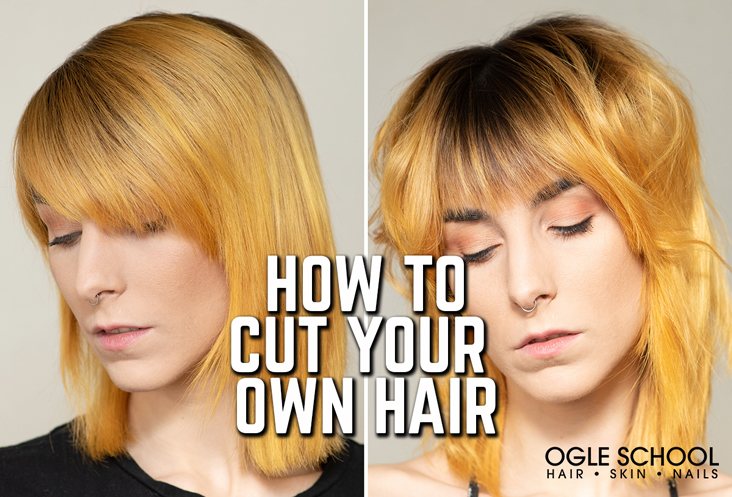
Cut Your Hair to Look Like a ’70s Rockstar
A shag haircut of a 1970s rockstar is a perfect style for a DIY haircut. The long layers are very forgiving.
Because the goal is a tousled look, you can create an even haircut without stressing about precision. Plus, the layered cutting style makes it easier to work around your whole head.
This haircut works for many hair types. It doesn’t remove any of the length. Instead, it adds shaping and an updated style.
We also like this cut because the vibes of a ’70s rockstar are a fun way to spend your coronavirus quarantine. Even though social distancing means that you can’t go see your professional hairstylist, you can still look great on Facetime or Zoom.
Here are the 10 steps on how to cut your own hair at home to look like a ’70s rockstar.
Step 1: Cover Your Shoulders
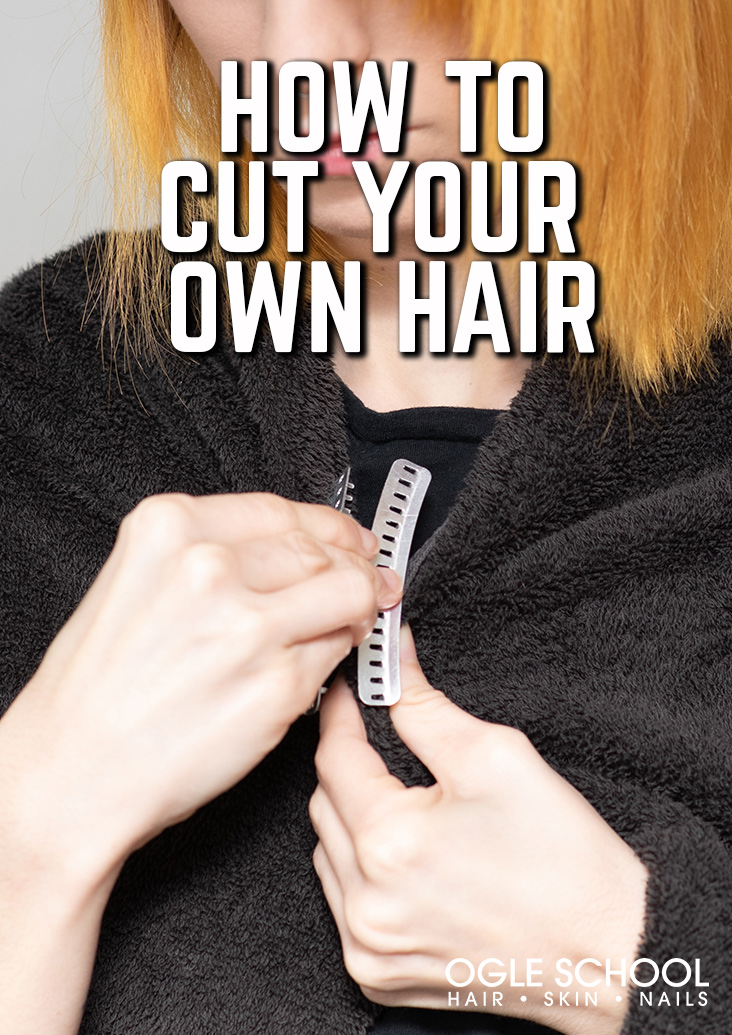
Drape a towel or salon cape over your shoulders. Secure the ends using a hair clip or whatever you have on hand at home.
Step 2: Part Your Hair
When cutting your own hair, it’s important to pay careful attention to how you part and section your hair. By portioning your hair at the scalp, you’ll be able to work by feel to get an even cut.
Depending on your hair’s texture, you may want to cut your hair while it’s wet. This can make it much more manageable. If you have curly hair, straightening your hair can make your home haircut easier. However, if your hair is finely textured and straight, it’s fine to cut your hair while it’s dry.
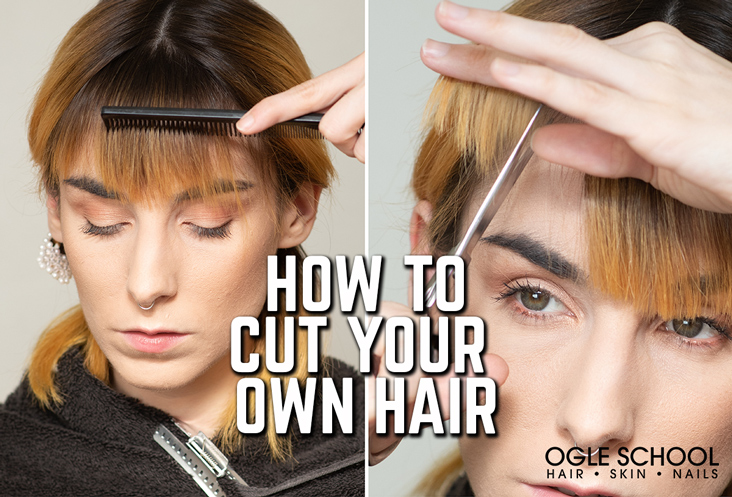
Start by working at the front of the head. Brush your hair downwards from the crown of the head towards your forehead. Include all of your bangs, and use a smooth downward brushing motion.
Next, using the edge of a comb, create a straight center part. Comb each of the halves toward your temples and ears so that you have a nice even split and your hair lays flat.
Step 3: Separate Bangs from Side Sections
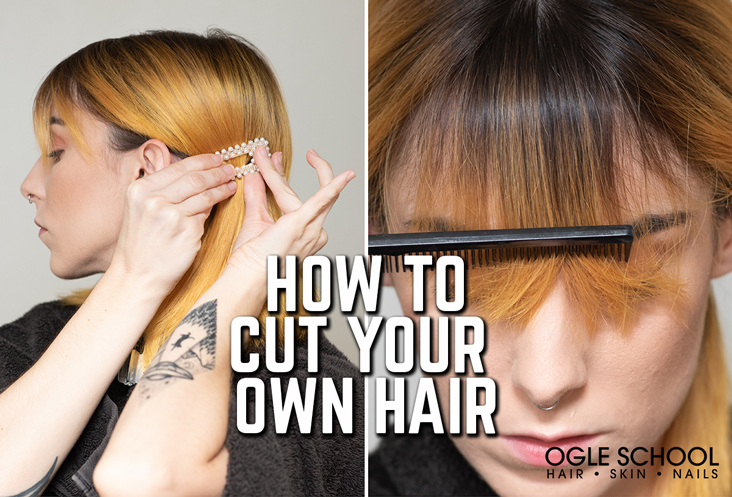
If you already have bangs, it will be easy to bring your existing bangs forward against your forehead and pull the side sections back towards your ears. If you don’t have bangs, find a point that’s about an inch back from your hairline and bring this front section of hair forward.
After your bangs are separated, gather the two lengths on either side of your face and secure them far back beyond your ear. You want to keep these sections out of your way while you work on your bangs.
Step 4: Trim Bangs
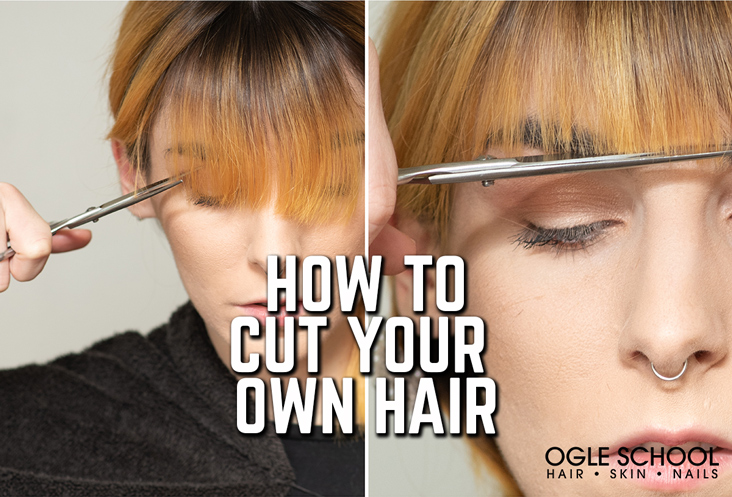
After your bangs are combed forward, identify the line right under your eyebrows where you want your bangs to hit. If your hair is wet, be sure to cut your hair a little longer because as it dries it will volumize and appear shorter.
Using hair cutting scissors, start the fringe cut. If possible, avoid paper or kitchen scissors.
Work slowly and methodically to cut the hair horizontally across your forehead. Follow the line right under your eyebrows, and use the comb frequently after cutting small sections of hair to keep hair straight.
Step 5: Texturize Bangs
After the initial trim, it’s time to go back in and add some texture to the blunt cut.
Using a comb and your fingers, work in small sections to add texture to the ends. Angling the scissor point, cut upwards. You’re not taking off any length, but instead are only working on the ends to give them a shaggy textured look.
As you work across your forehead, use the same technique of combining between cuts to keep your hair laying neatly. It’s important to not work too quickly or work on large sections. Proceed with caution because you want to avoid a zig-zag fringe!
Step 6: Separate the Upper and Lower Portions of Hair
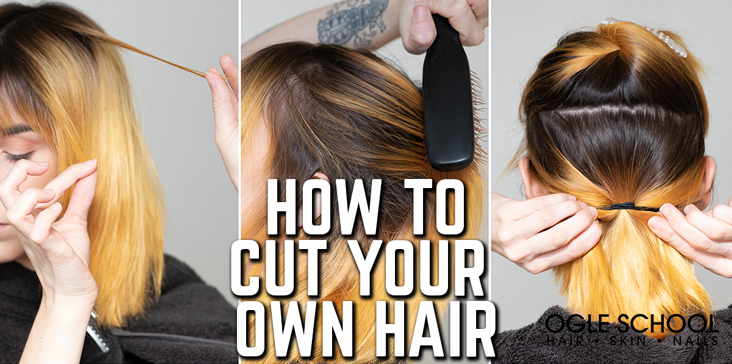
Now that you’ve finished your bangs, it’s time to work on the rest of your hair.
Unpin the sections that were clipped back, and brush hair so that it falls naturally.
Using a comb, create a horizontal part around the back of your head. Work in a straight line starting at one temple and continuing around to the other temple. Gather the top section up, and twist it before securing it with a clip.
Brush the lower section straight, and secure it at the nape of your neck. Since this haircut doesn’t remove any length, we’re not going to be touching this bottom section. We’ll only be trimming the top section to add layers and give volume.
Step 7: Add Layers
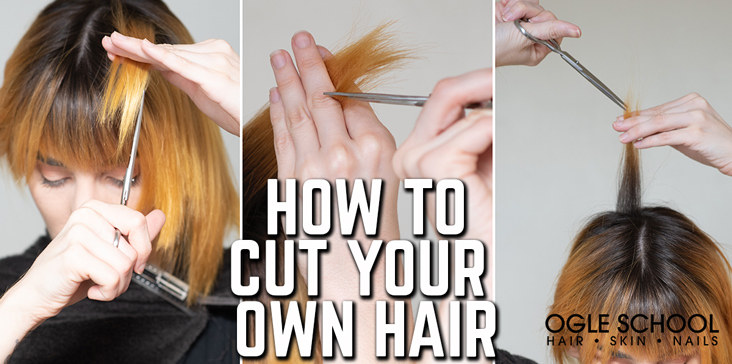
The goal of this haircut is to add a range of layers that creates a smooth transition from your fringe to the full length of hair on the lower portion of your head. This means using layers to frame the face and add volume along the sides and back of the head.
Keeping the bottom section secured, brush out the upper section of hair.
Start creating small vertical divisions of hair that you can hold between your pointer and middle fingers. Holding the scissors vertically so they’re pointed upwards, snip hair in small sections to start building your layers.
The layers that are higher up on the head should be shorter than the longer layers that are lower down on the head. Remember to work slowly and not take off too much too fast.
Working on the back of your head can be tricky. Try setting up two mirrors so you can see the back of your head while you work. If you don’t feel confident about the back layers, ask for help.
Continue to brush and snip until you have an even distribution of layers. Be sure to check that the left and right sides of your hair are even.
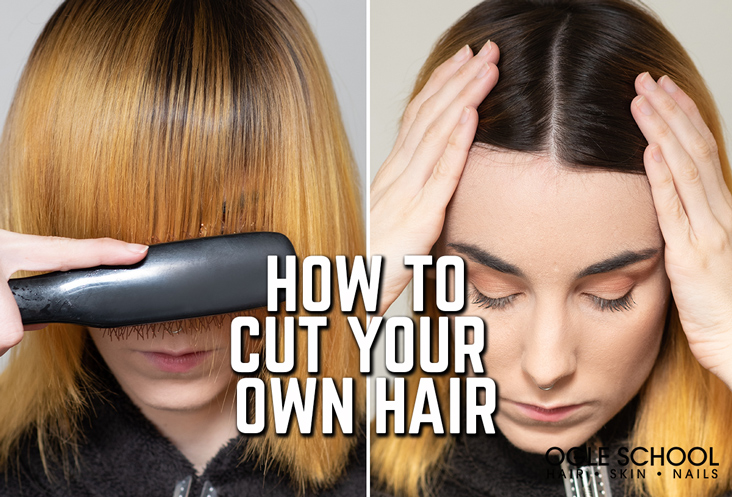
Step 8: Blow Dry Your Hair
Use the blow dryer to fluff out your cut and remove any stray hairs.
The blow-dried hair will reveal any areas that need fixing. Check your cut to see that it’s balanced between the right and left sides and that you have even layers around your whole head.
Step 9: Style with a Flat Iron
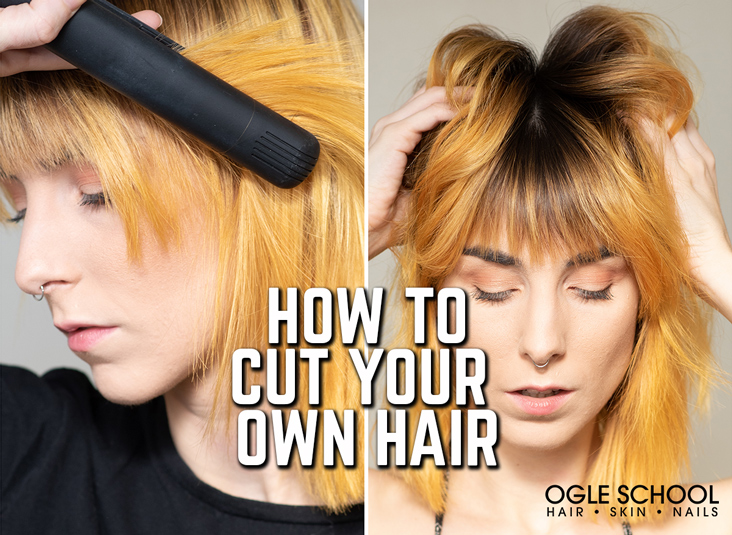
To style, add waves to your natural hair with a flat iron or curling iron. Focus especially on adding volume to the layers framing your face.
Step 10: Final Look
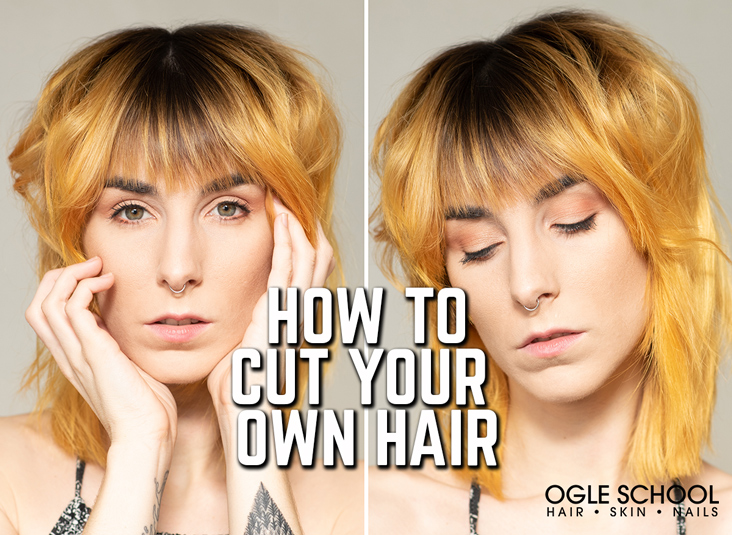
You did it! Cutting your own hair wasn’t as difficult as you thought. If you’re ready to take your haircutting skills to the next level, find out how you can go pro with the Cosmetology Program from Ogle School, which can be completed in as little as eleven months.